Juniper Mist
Overview
Configuring a cloud source in Scope is a two-step process.
-
Generating Juniper Mist API credentials in the Mist Portal. Please refer to Section 1 – Juniper Mist Setup
-
Setting up the Juniper Mist cloud source in the Scope application. Please refer to Section 2 – Scope Setup
Juniper Mist Setup
To get started, you’ll need to generate the following credentials in the Juniper Mist Portal –
- API Token
- Organization ID
Step 1: Retrieve the Organization ID
-
Log into the Mist Portal.
-
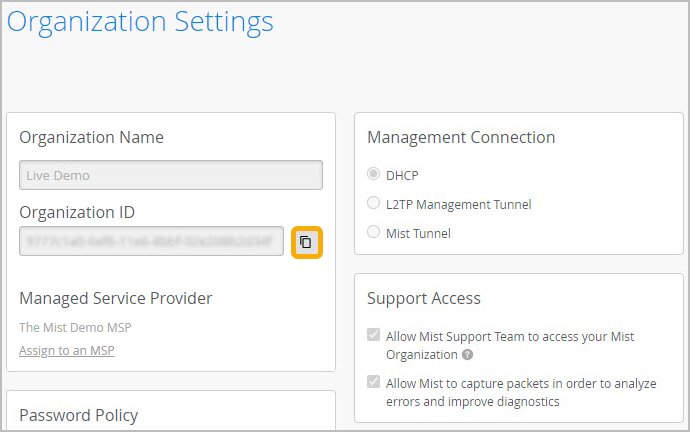
Navigate to Organization -> Admin -> Settings in the Mist Portal.
-
Copy the Organization ID displayed on the settings page.
Step 2: Create an Organization Token (API Token)
-
Log into the Mist Portal.
-
From the left menu, navigate to Organization -> Admin -> Settings.
-
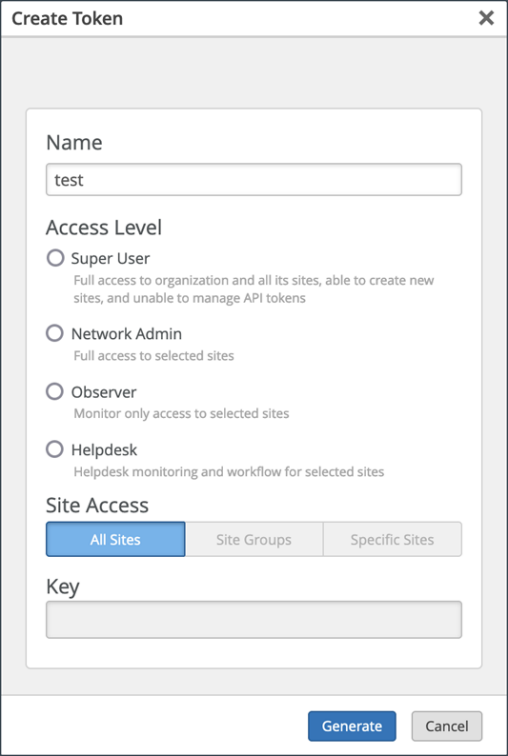
Scroll down to the API Token section and click Create Token.
-
Select the required Access Level for the token.
-
Click Generate.
-
Copy the generated token from the Key field and store it securely for future use.
Step 3: Identify the API Endpoint URL
-
Log into the Juniper Mist Portal.
-
In the browser address bar, identify the first part of the URL that starts with
manageand ends with.com. -
Example:
https://manage.ac2.mist.com/admin/?org_id=xxxxxxx-xxxx-xxx -
Replace
managewithapito determine the API endpoint URL. -
In this case, the base URL would be:
api.ac2.mist.comPlease refer here for the list of Juniper Mist Base URLs.
The generated API Token, Organization ID and the Base URL are to be configured in Scope Setup: Step 1 for initiating the Juniper Mist log ingestion.
Scope Setup
Step 1: Juniper Mist Cloud Source Registration in the Scope Application
Once the credentials are generated, they must be configured in the Scope application to establish the connection and enable data ingestion from the Juniper Mist environment.
In the Scope application, to register a Juniper Mist cloud source, navigate to the cloud source registration page –
-
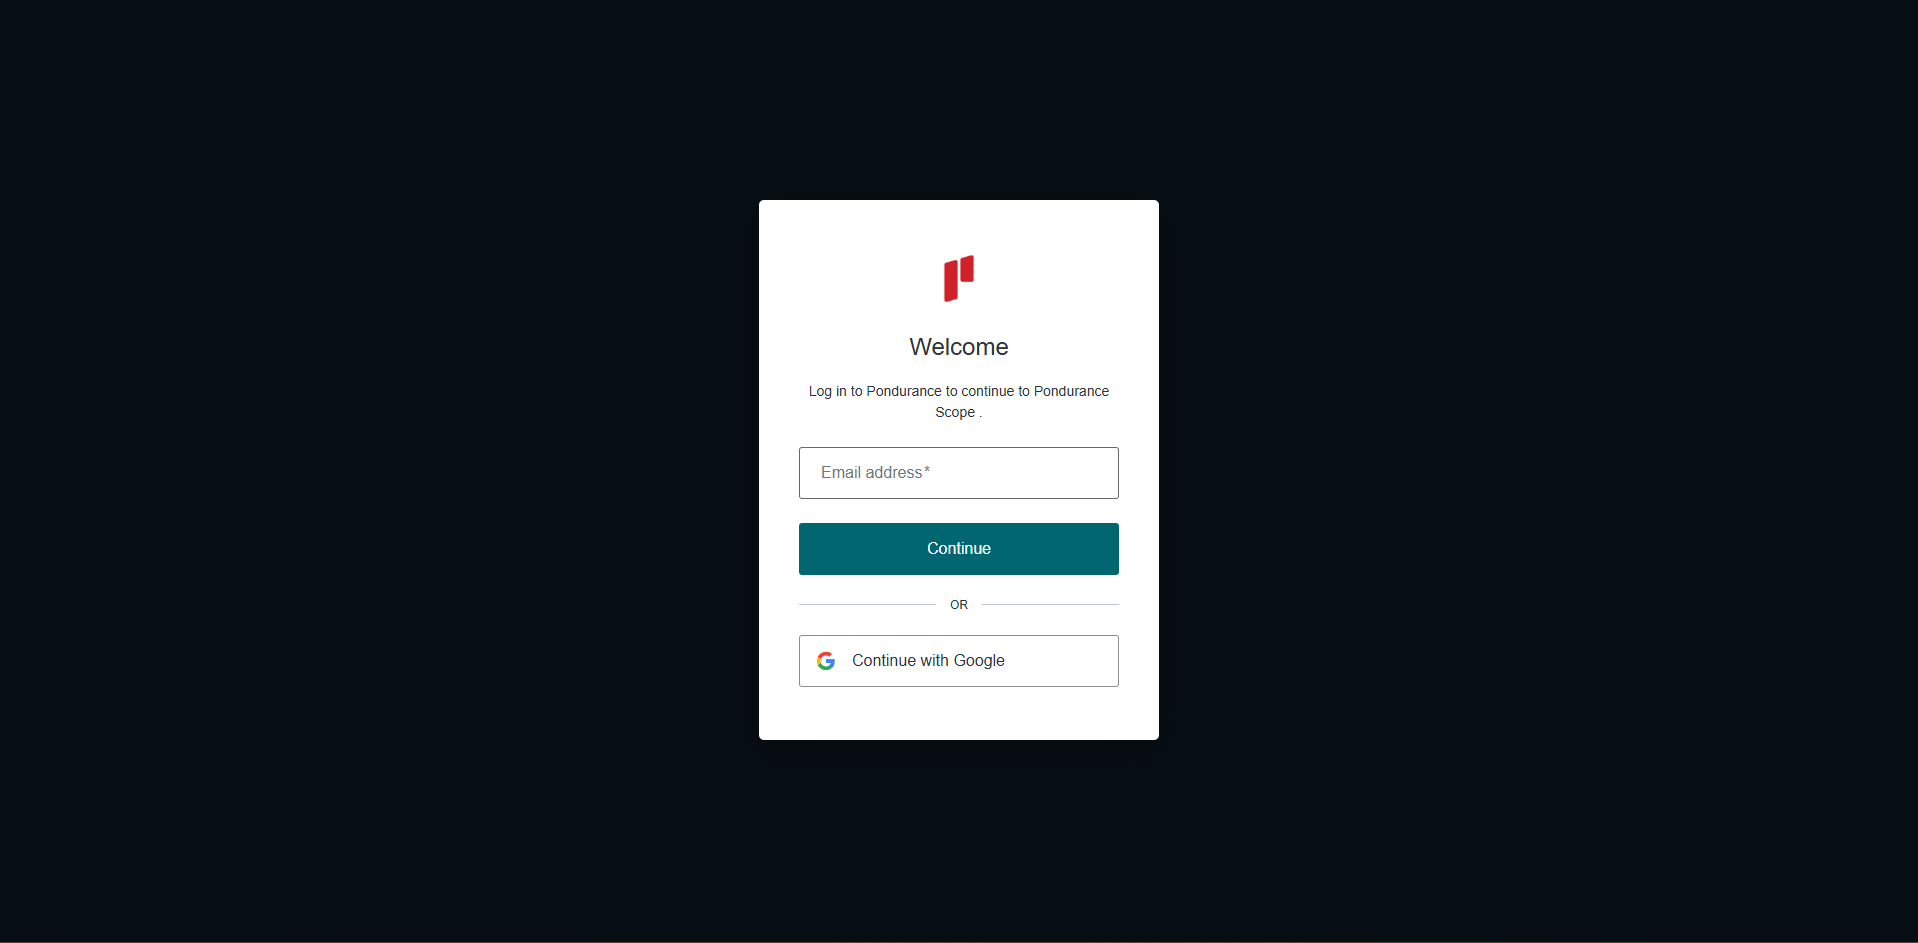
Log into the Scope application
-
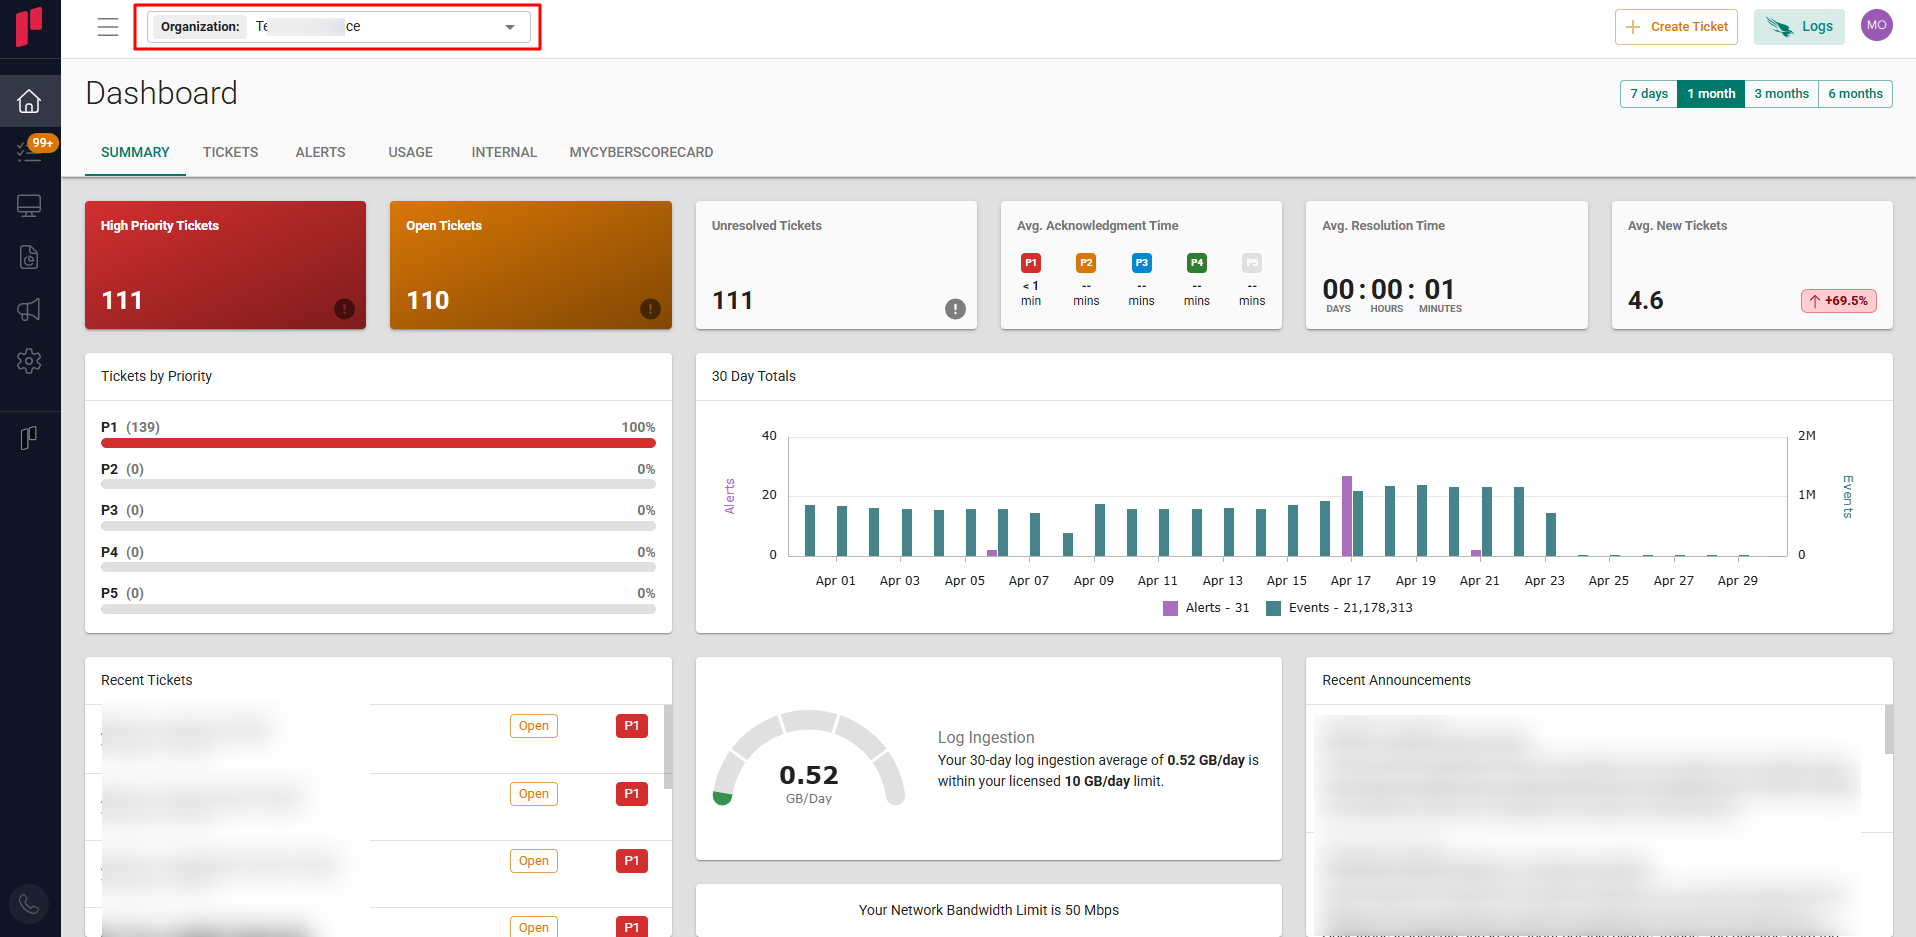
Select the required Organization from the Organization dropdown
-
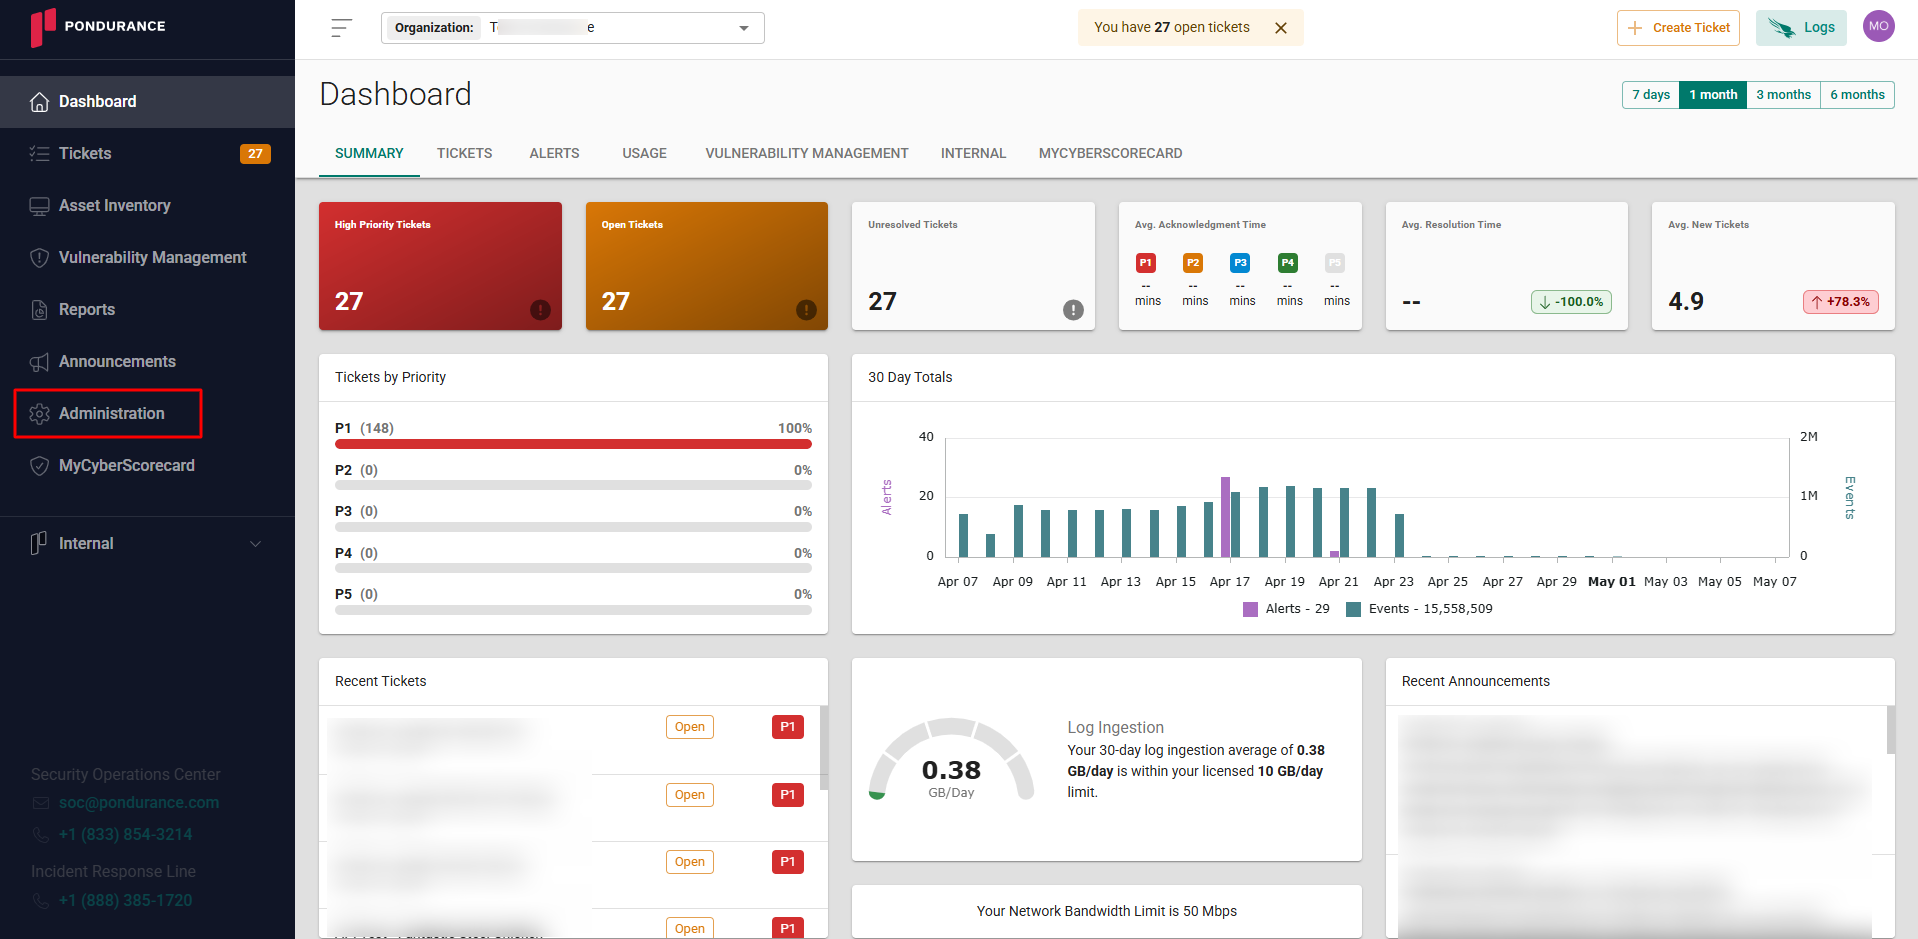
Navigate to the side menu -> Administration
-
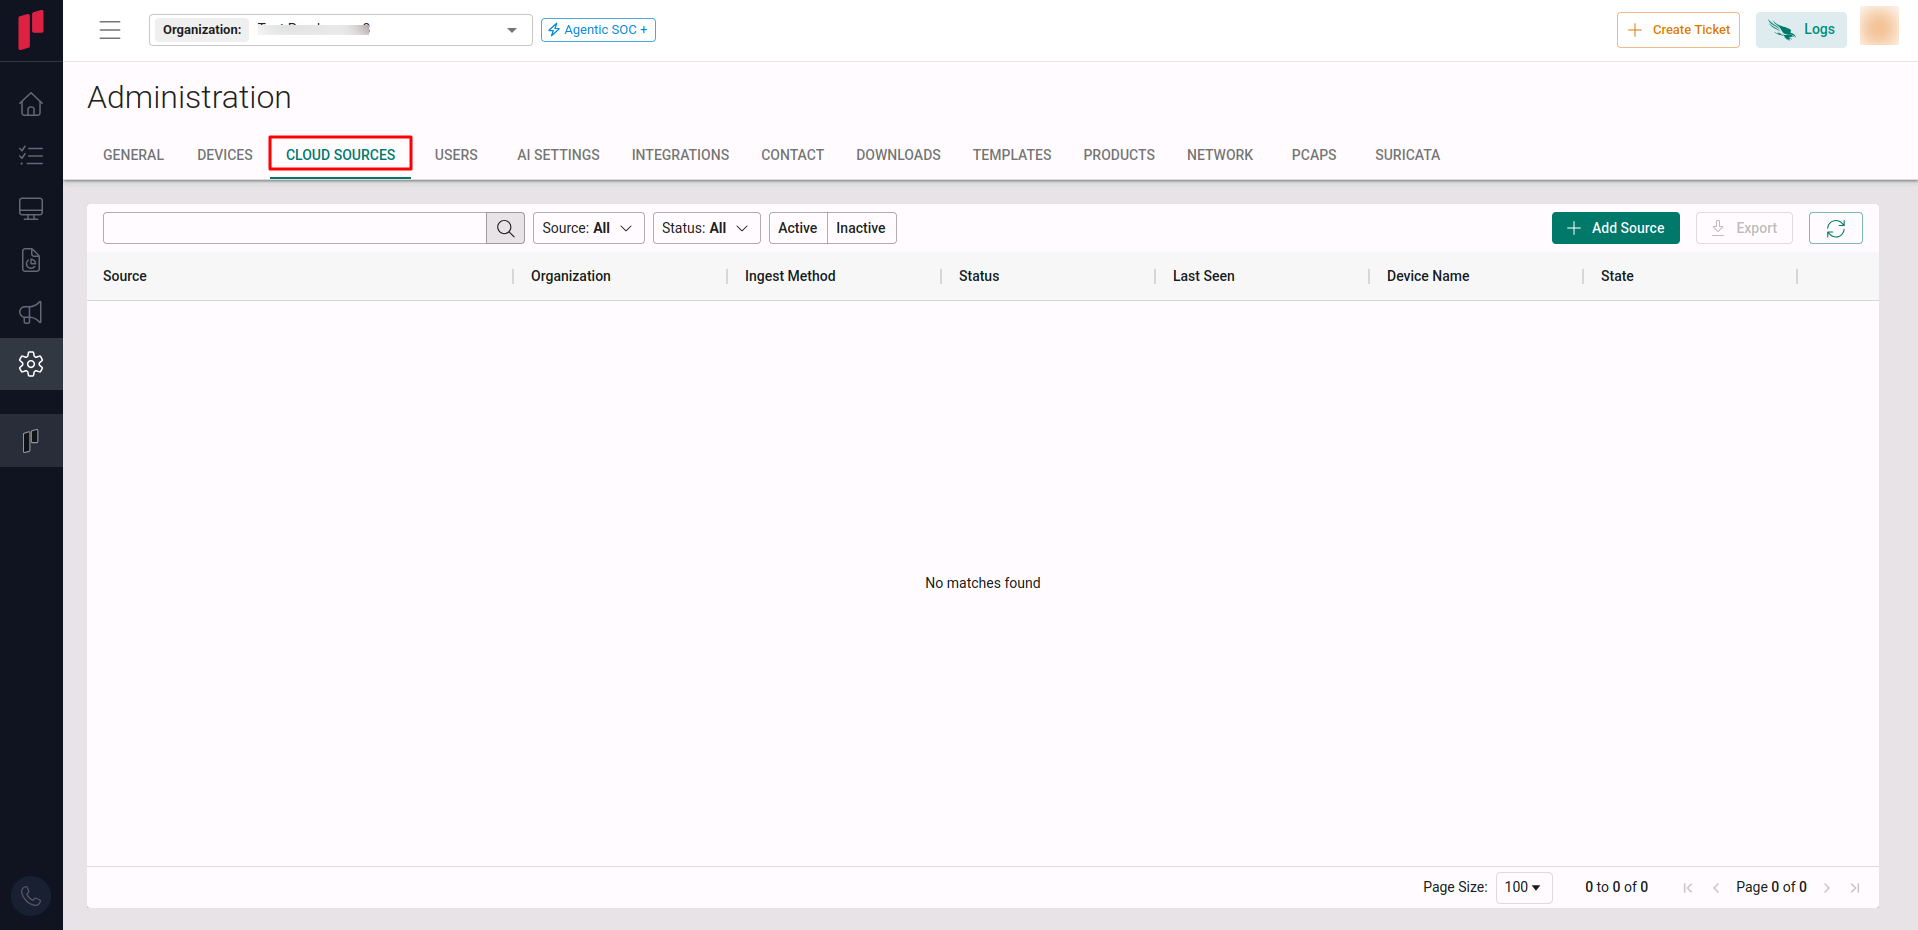
Navigate to the Cloud sources tab
-
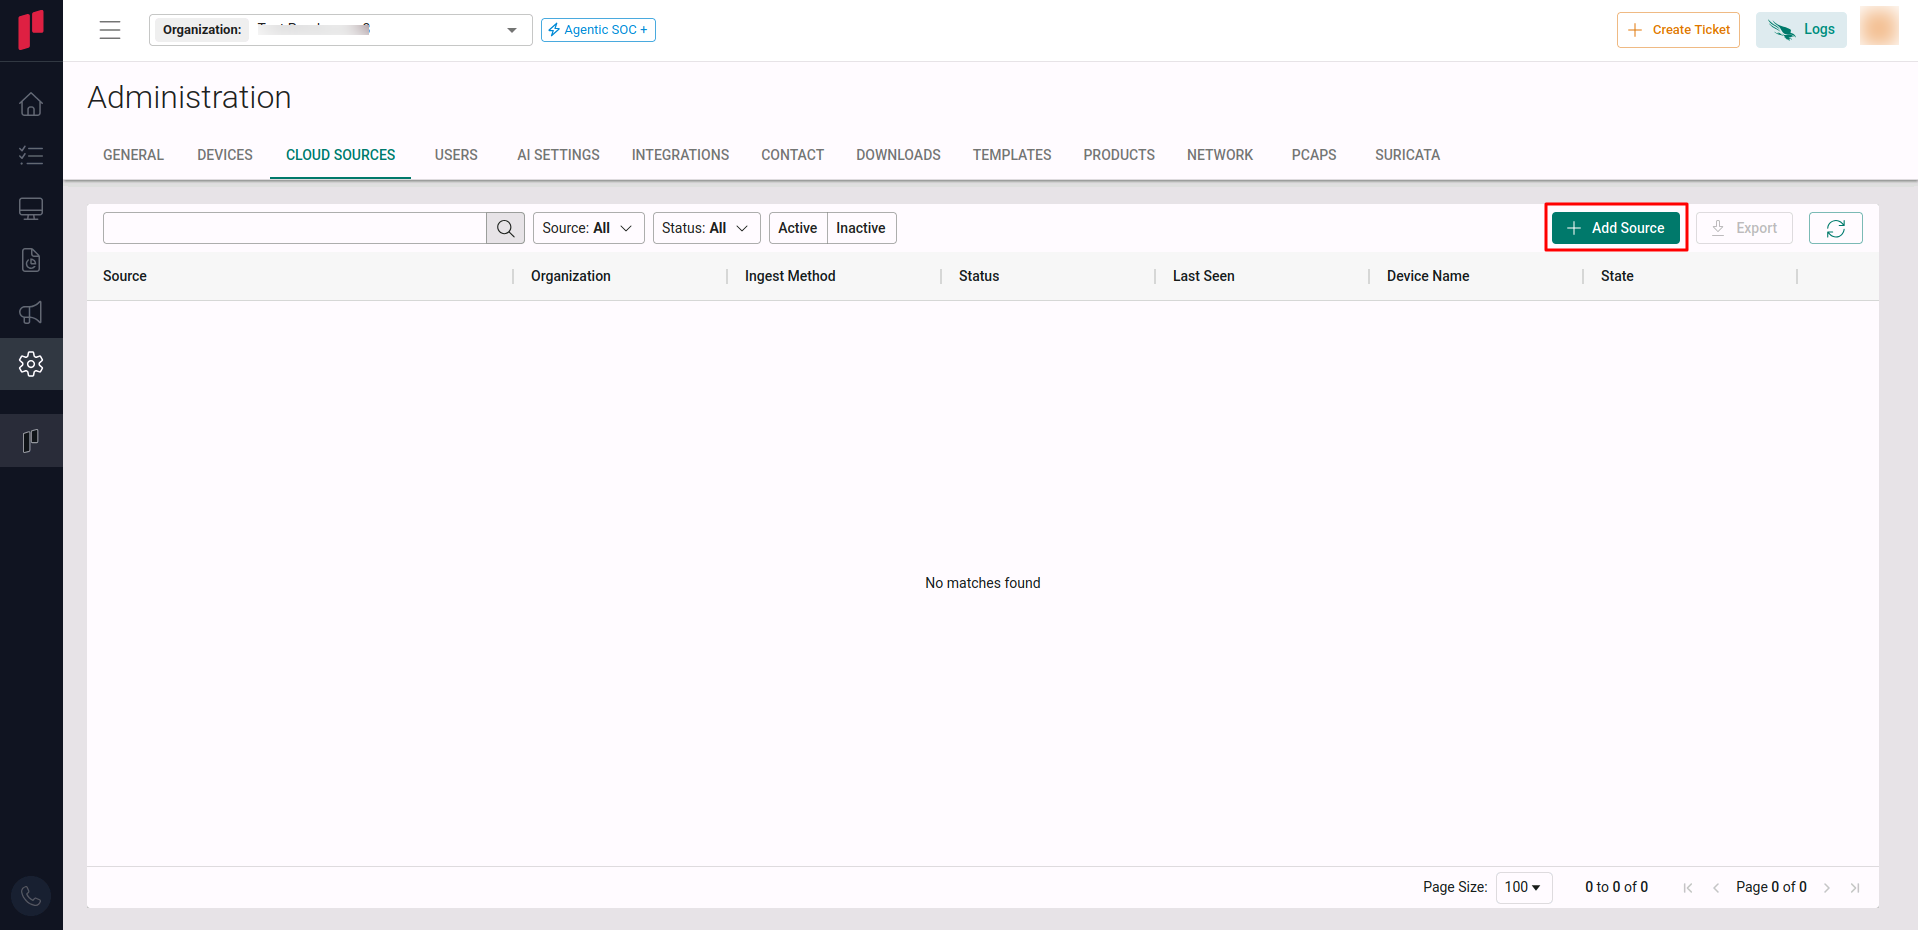
Click on the +Add Source button
-
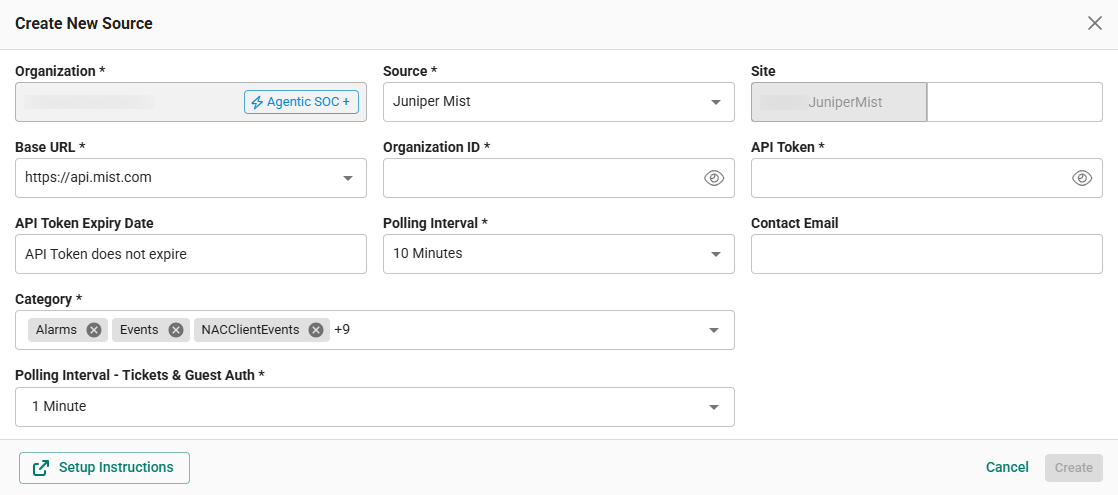
In the Add Source pop-up, provide the parameters below.
-
Source: Select the Juniper Mist source from the Source dropdown.
-
Site: The user defined name for the Juniper Mist cloud source.
-
Base URL: Base URL determined in Step 3.
-
Organization ID: The Organization ID retrieved in Step 1.
-
API Token: The API Token generated in Step 2.
-
Polling Interval: The polling interval for making periodic API calls to the Juniper Mist API. The user can select the time interval from the dropdown.
-
Contact Email: The email address of the person who registers the Juniper Mist cloud source in Scope.
-
Polling Interval - Tickets & Guest Auth: The polling interval for making periodic API calls to the Juniper Mist API - Tickets and Guest Auth categories. The user can select the time interval from the dropdown.
-
Once the required connection parameters are entered, the Juniper Mist cloud source registration is complete in Scope and is ready for ingestion of Juniper Mist logs.