Check Point
Overview
Configuring a cloud source in Scope is a two-step process.
-
Generating Check Point client credentials in the Check Point Portal. Please refer to Section 1 – Check Point Setup
-
Setting up the Check Point cloud source in the Scope application. Please refer to Section 2 – Scope Setup
Check Point Setup
To get started, you’ll need to generate the following client credentials in the Check Point Portal –
- Client ID
- API Key
- Expiration Date
- Base URL (Authentication URL)
Step 1: Create an Account API Key
-
In the Check Point Portal, navigate to Settings icon (⚙︎) -> API Keys.
-
Click New -> New account API key.

-
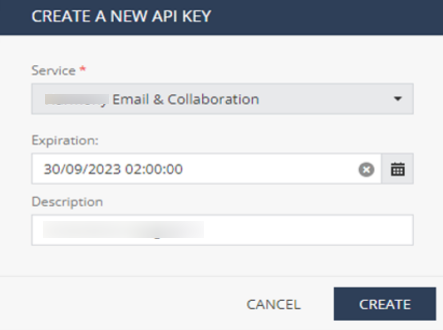
In the Create a New API Key window:
- Service: From the Services dropdown, select Email & Collaboration.
- Expiration: In the Expiration field, select the expiration date and time for the API Key.
- Description (Optional): In the Description field, enter a description for the API Key.
-
Click Create.
-
The Check Point Portal generates a new API Key.
-
Copy the following values and keep them in a safe place:
- Client ID – The identifier for your account and for the client service that uses this API key.
- API Key (displayed as Secret Key in the portal) – The API Key generated for the account; this value is the secret/password used to access the Check Point Portal.
- Authentication URL – Shows the URL address used to authenticate API requests. In addition, it shows the specific gateway that uses this URL to authenticate the Client ID and API Key.
Note: You can always obtain the Client ID from the API Keys table, but you cannot retrieve the API Key or Authentication URL after the Create a New API Key window is closed.
-
Click Close.
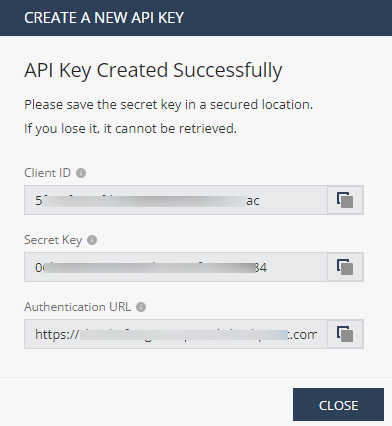
The generated Client ID, API Key, Expiration Date, and Authentication URL (Base URL) are to be configured in Scope Setup: Step 1 for initiating the Check Point log ingestion.
Scope Setup
Step 1: Check Point Cloud Source Registration in the Scope Application
Once the credentials are generated, they must be configured in the Scope application to establish the connection and enable data ingestion from the Check Point environment.
In the Scope application, to register a Check Point cloud source, navigate to the cloud source registration page –
-
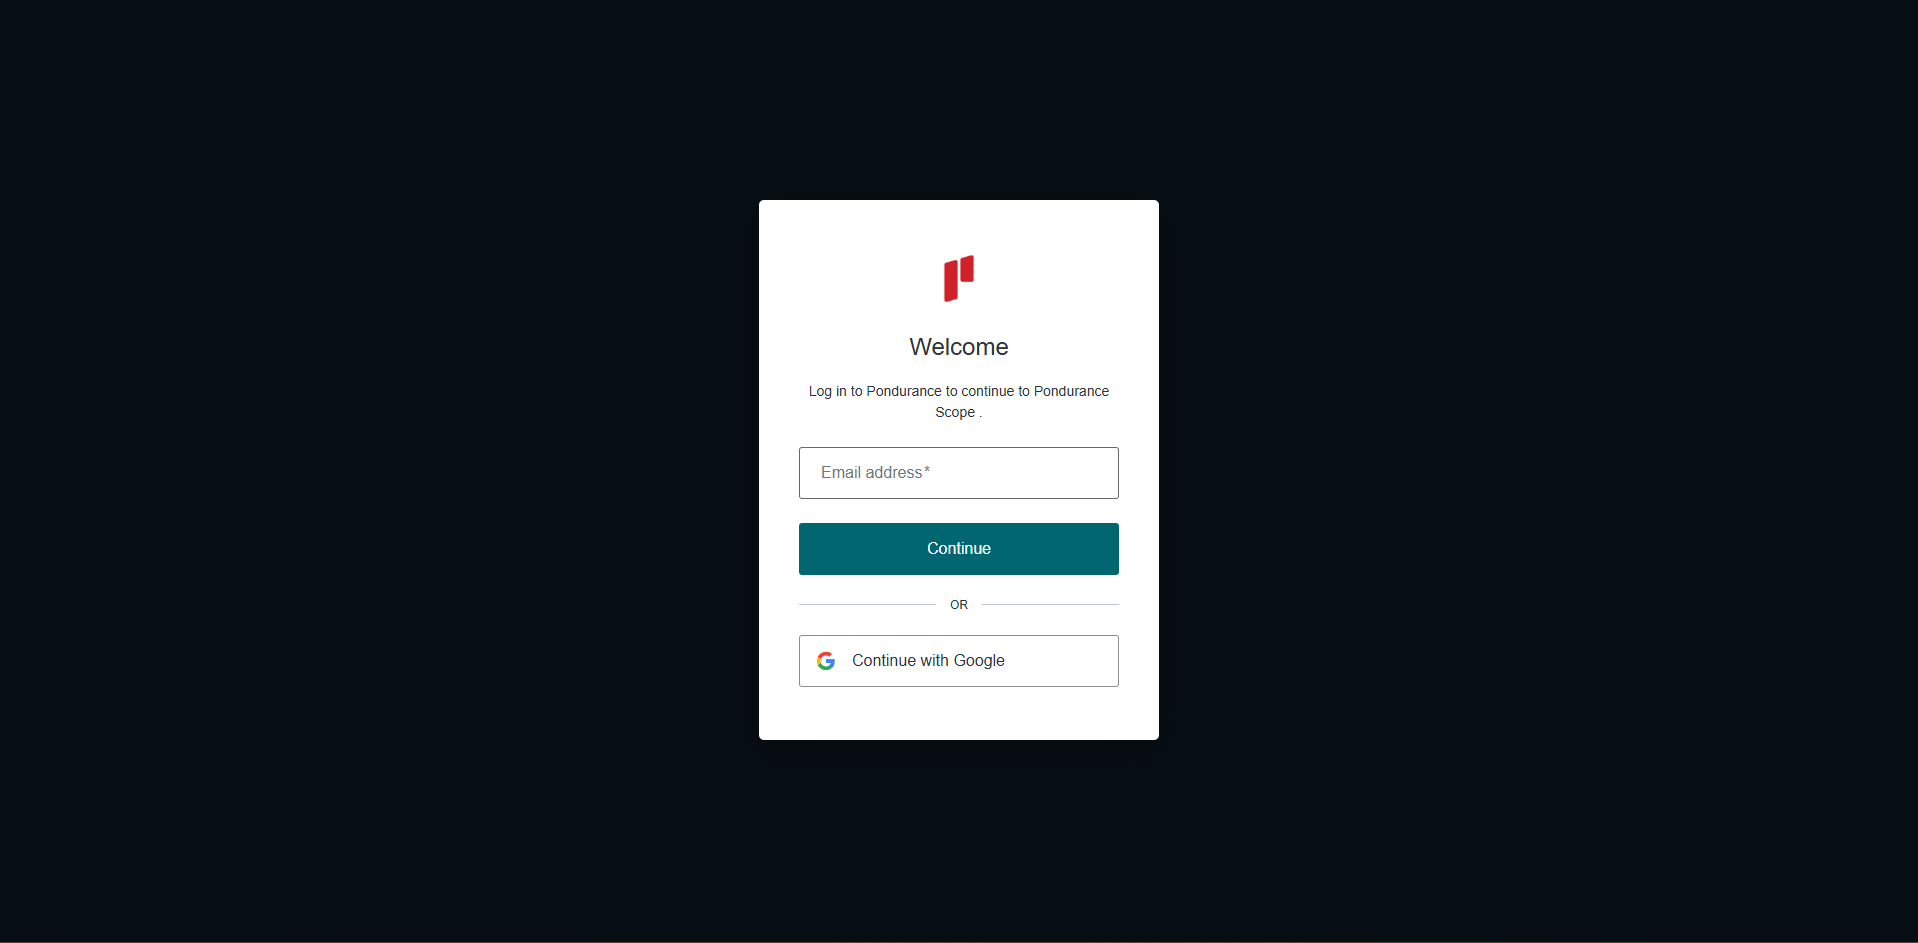
Log into the Scope application
-
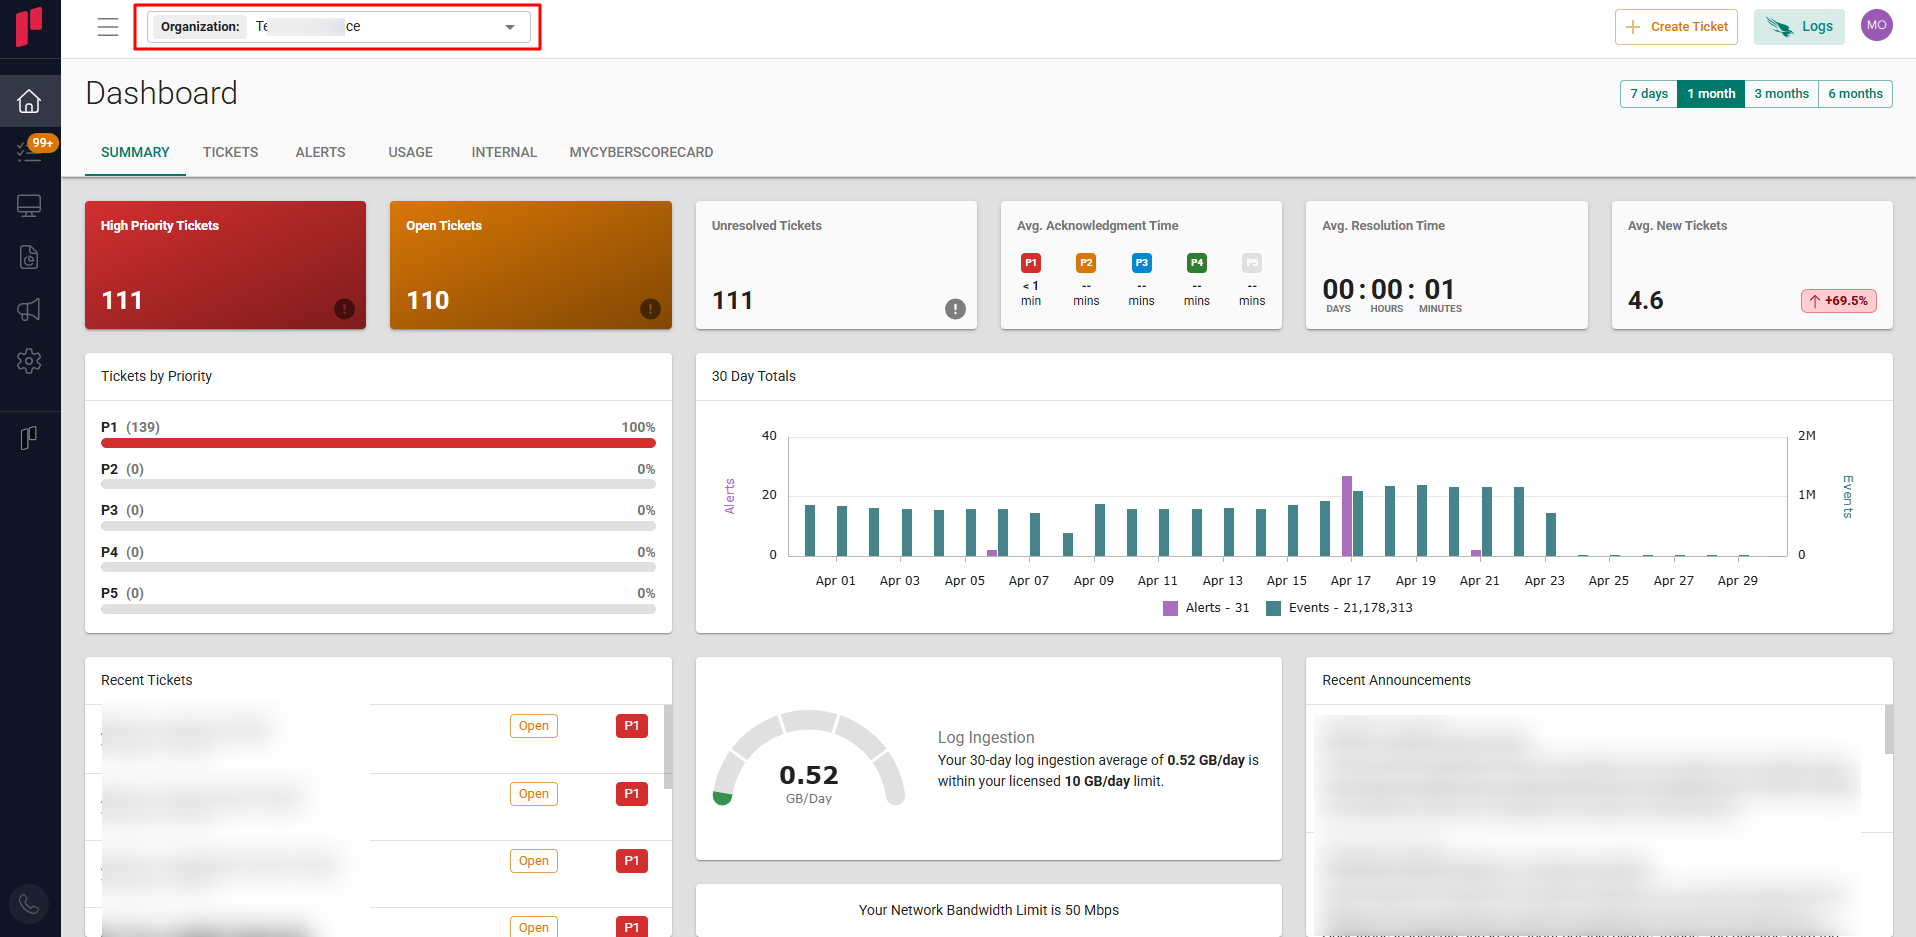
Select the required Organization from the Organization dropdown
-
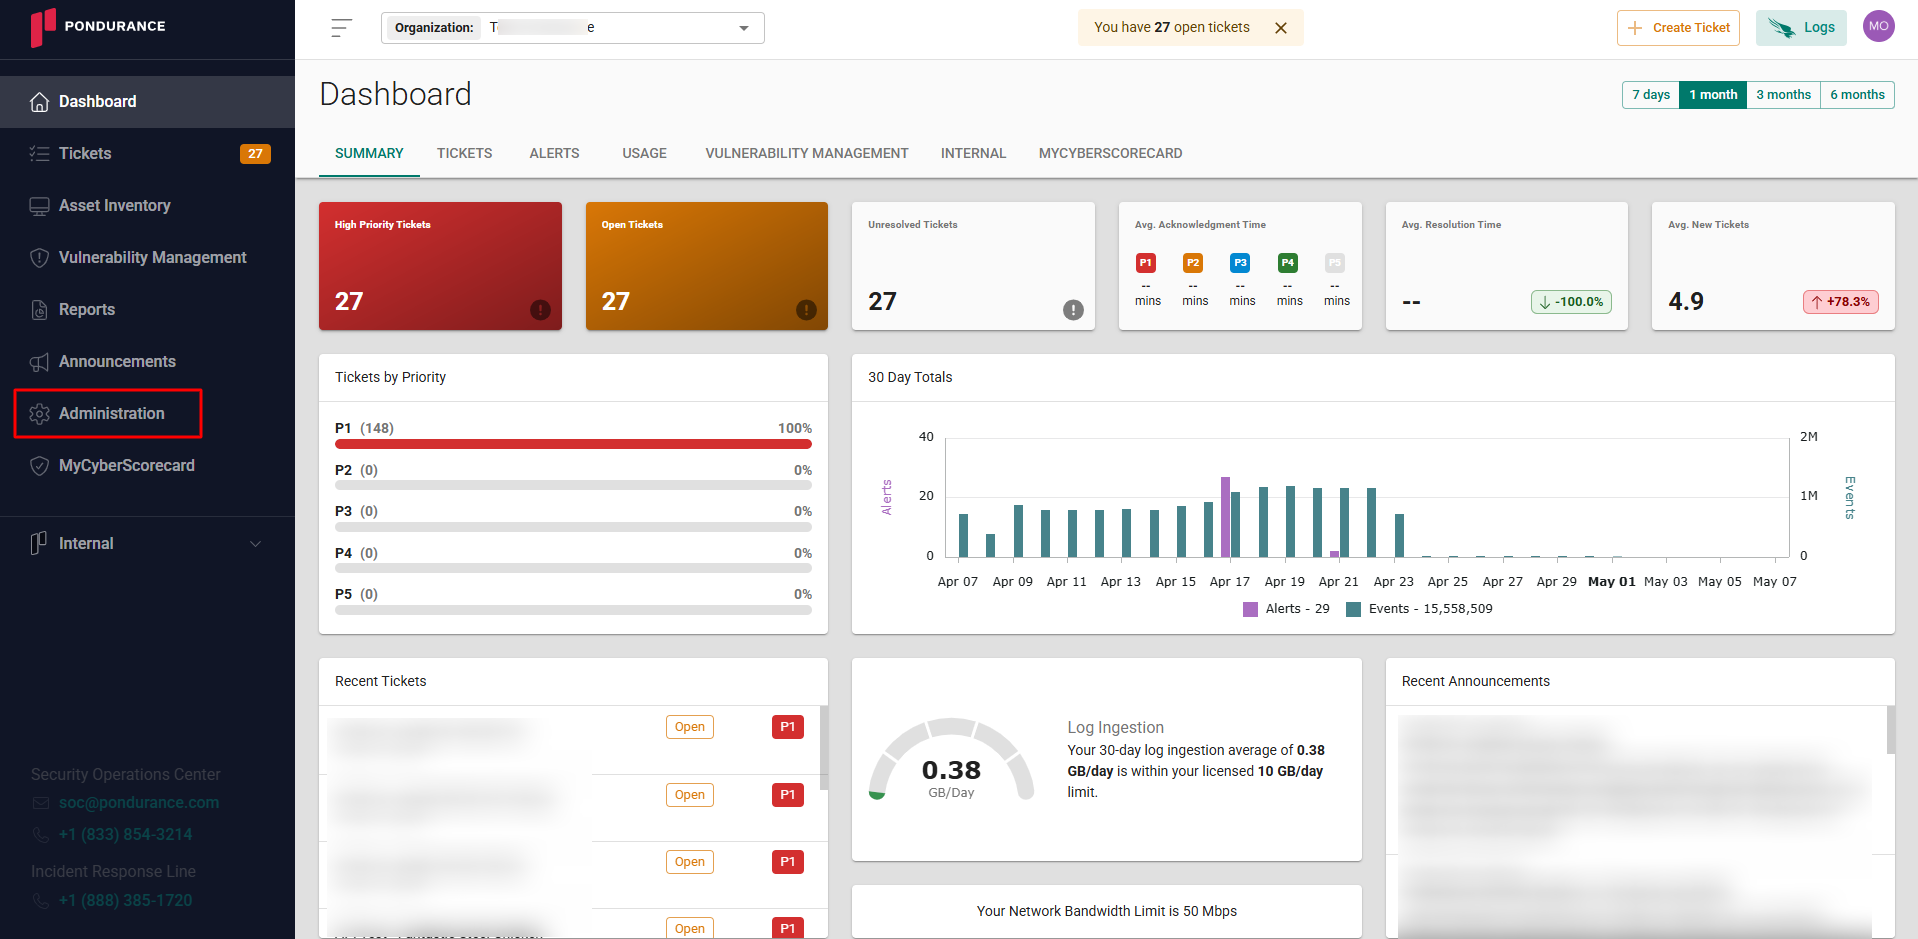
Navigate to the side menu -> Administration
-
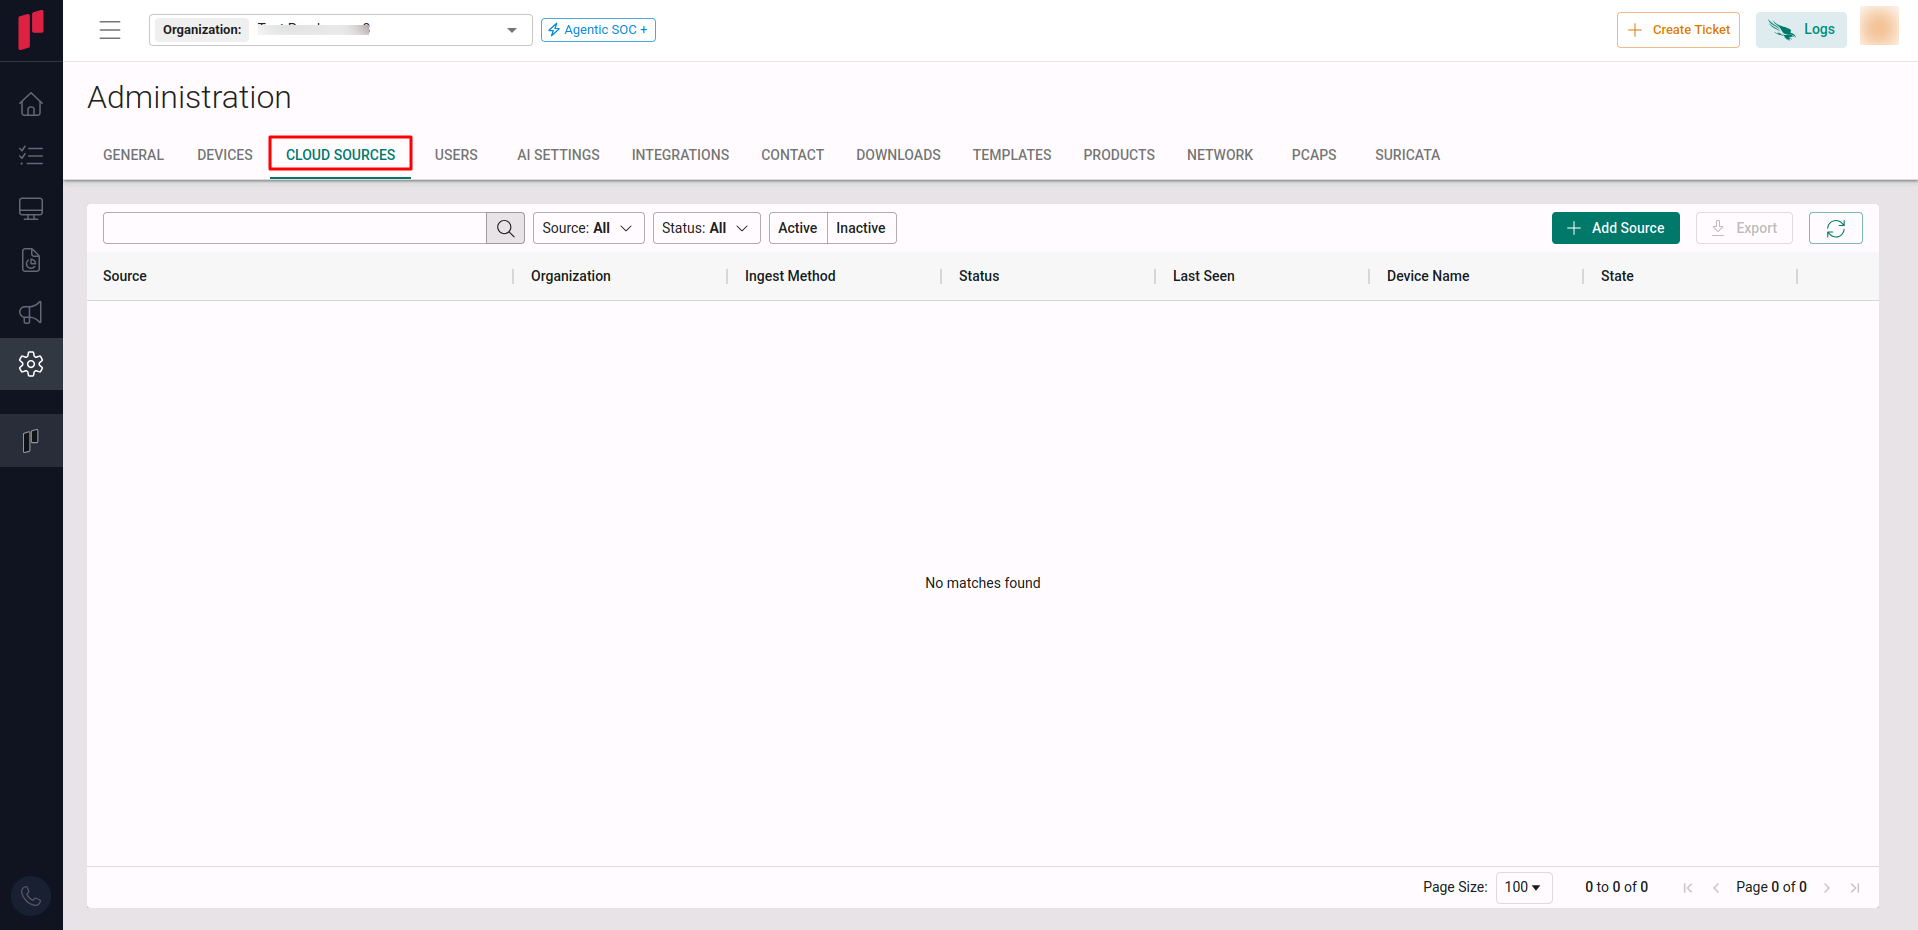
Navigate to the Cloud sources tab
-
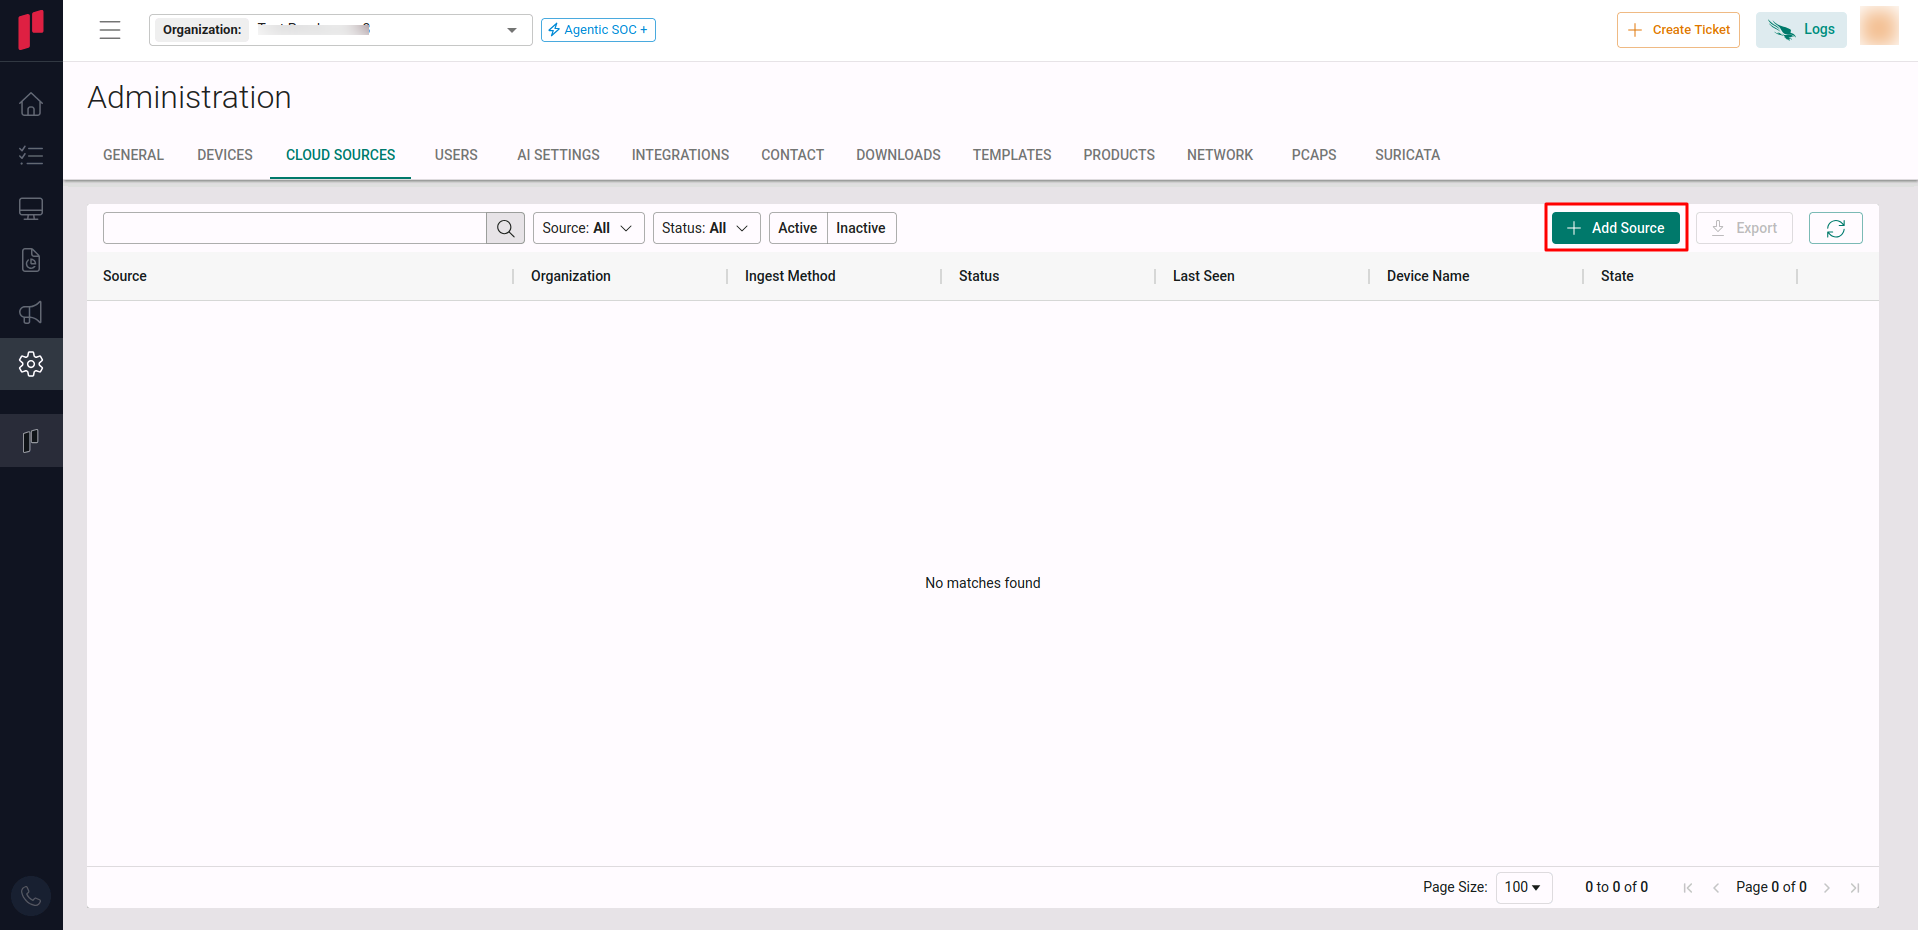
Click on the +Add Source button
-
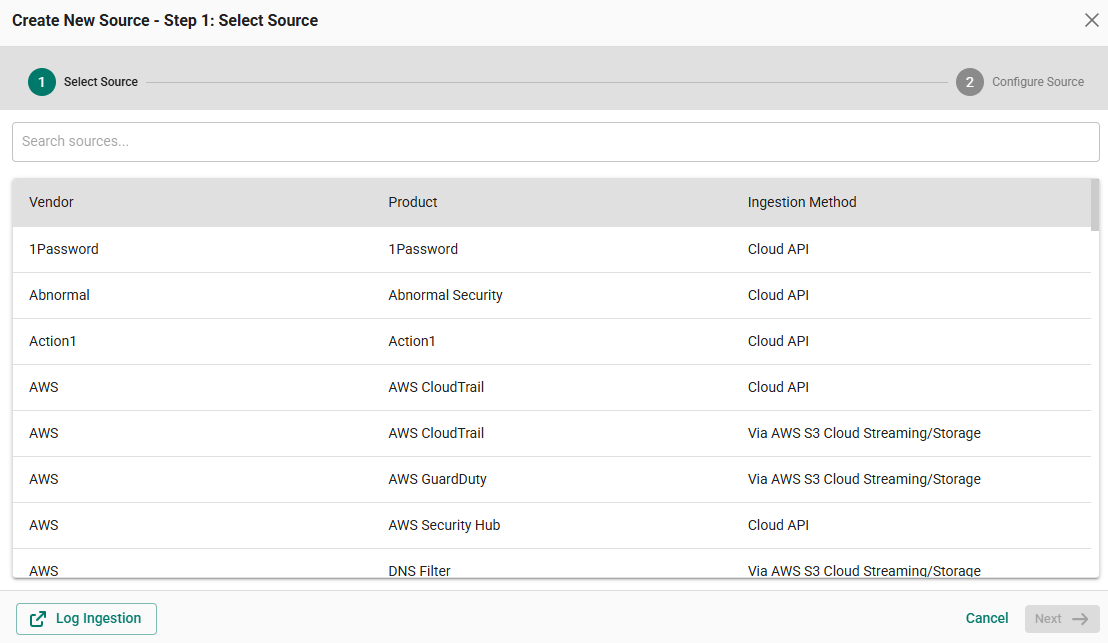
In the Step 1 of the Add Source wizard, search for Check Point, select the cloud source and click Next.
-
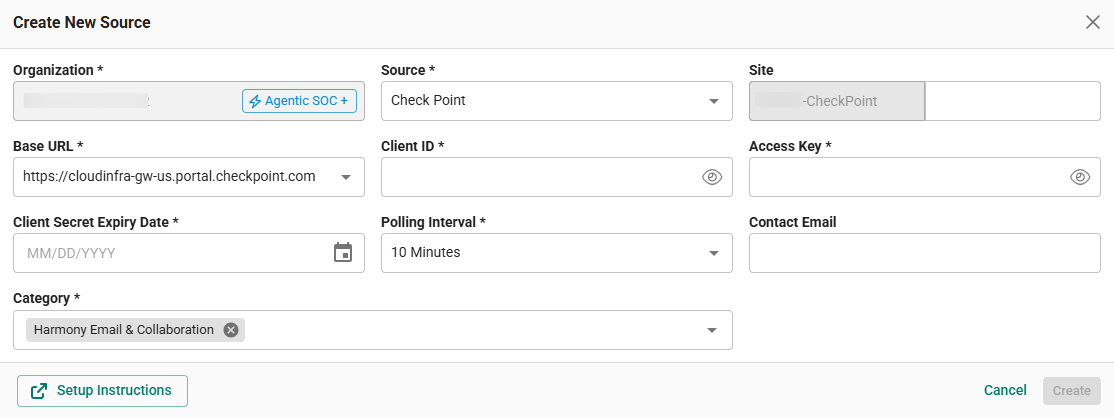
In the Step 2 of the Add Source wizard, provide the parameters below.
-
Site: The user defined name for the Check Point cloud source.
-
Base URL: The Authentication URL generated in Step 1 should be selected from the dropdown.
-
Client ID: The Client ID generated in Step 1.
-
Access Key: The API Key (displayed as Secret Key in the Check Point portal) generated in Step 1.
-
Client Secret Expiry Date: The expiration date of the API Key set in Step 1.
-
Polling Interval: The polling interval for making periodic API calls to the Check Point cloud source. The user can select the time interval from the dropdown.
-
Contact Email: The email address of the person who registers the Check Point cloud source in Scope.
-
Once the required connection parameters are entered, the Check Point cloud source registration is complete in Scope and is ready for ingestion of Check Point logs.