Snowflake
Overview
Configuring a cloud source in Scope is a two-step process.
-
Generating Snowflake credentials and account details in the Snowflake portal. Please refer to Section 1 – Snowflake Setup
-
Setting up the Snowflake cloud source in the Scope application. Please refer to Section 2 – Scope Setup
Snowflake Setup
To get started, you’ll need to obtain or generate the following credentials –
- Account Identifier
- Username
- Thumbprint ID (Public Key Fingerprint)
- Passphrase
- Private Key
- Key Expiry Date
- Warehouse
- Database
- Role
Step 1: Obtain the Account Identifier
The account identifier uniquely identifies a Snowflake account. Obtain it using one of the following methods:
Using Snowsight (Web Interface):
-
Sign in to Snowsight.
-
Open the account selector in the lower-left corner and select View account details.
-
The Account Details dialog displays the account identifier in the format:
<organization_name>-<account_name>.For example: if the organization name is
myorgand the account name isprod_account, the account identifier will bemyorg-prod_account.
Using SnowSQL:
-
Connect to Snowflake and execute the following SQL command:
SELECT CURRENT_ORGANIZATION_NAME() || '-' || CURRENT_ACCOUNT_NAME();The result will be the full account identifier in the format required for connection
Step 2: Generate the Private Key
-
Open a terminal window and execute the following command to generate an encrypted private key:
openssl genrsa 2048 | openssl pkcs8 -topk8 -v2 des3 -inform PEM -out rsa_key.p8
Note: This command will prompt for a passphrase. Create a strong passphrase that complies with your organization’s security standards. Please refer here for more information about creating a strong passphrase.
Step 3: Obtain the Thumbprint (Public Key Fingerprint) and Username
-
Once the private key is generated, a corresponding public key must be generated and assigned to a Snowflake user.
Please refer to the Snowflake Key Pair Auth documentation for details on assigning the public key to a user and the required privileges.
-
Once the public key is assigned, execute the following command in SnowSQL to retrieve the thumbprint (user’s public key fingerprint):
DESC USER example_user
->> SELECT SUBSTR(
     (SELECT "value" FROM $1
          WHERE "property" = 'RSA_PUBLIC_KEY_FP'),
     LEN('SHA256:') + 1) AS key;
Step 4: Identify Warehouse, Database & User Role Details
- Warehouse: Identify the Snowflake warehouse in which all operations (queries, DML) are performed.
- Database: Identify the database where ingestion queries will be executed. Scope fetches events from the
ACCOUNT_USAGEschema, which is typically available in theSNOWFLAKEdatabase. - User Role: Identify the role (predefined or custom) assigned to the user to access the
ACCOUNT_USAGEschema.
The Account Identifier, Passphrase, Private Key, Key Expiry Date (based on your key rotation policy), Passphrase, Thumbprint ID, Username, Warehouse, Database, and Role are to be configured in Scope Setup: Step 1 for initiating the Snowflake log ingestion.
Scope Setup
Step 1: Snowflake Cloud Source Registration in the Scope Application
Once the credentials are generated, they must be configured in the Scope application to establish the connection and enable data ingestion from the Snowflake environment.
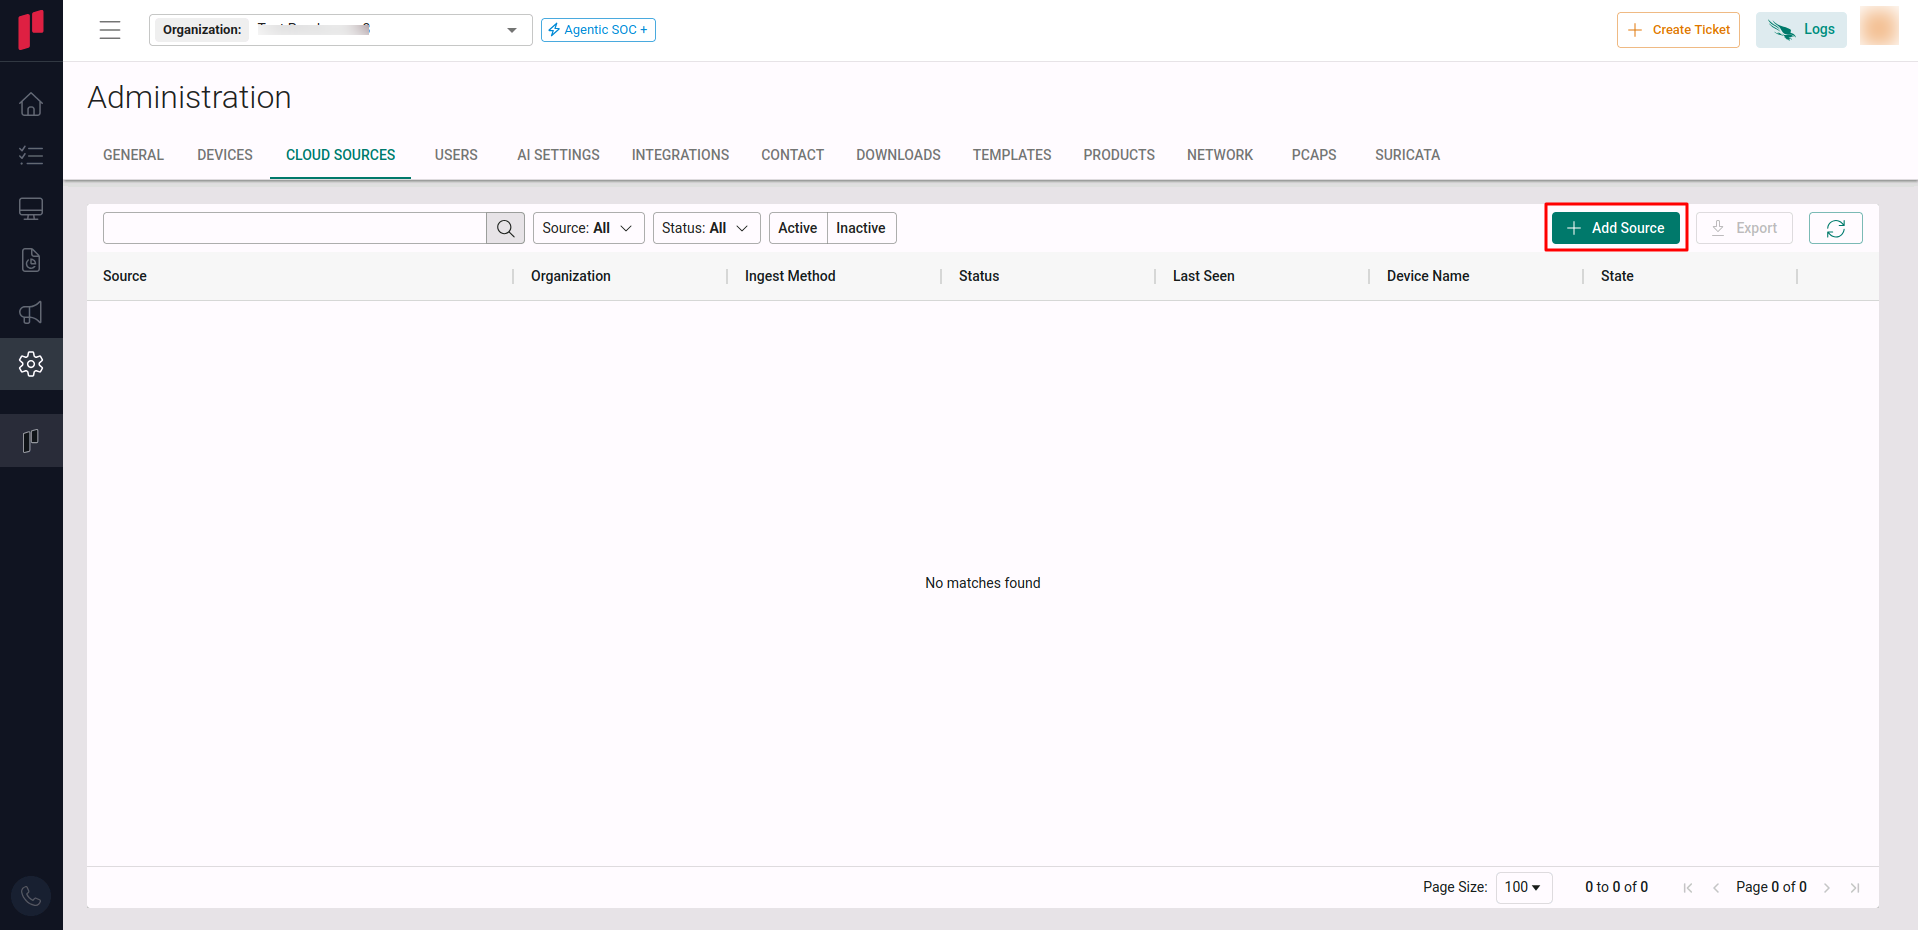
In the Scope application, to register a Snowflake cloud source, navigate to the cloud source registration page –
-
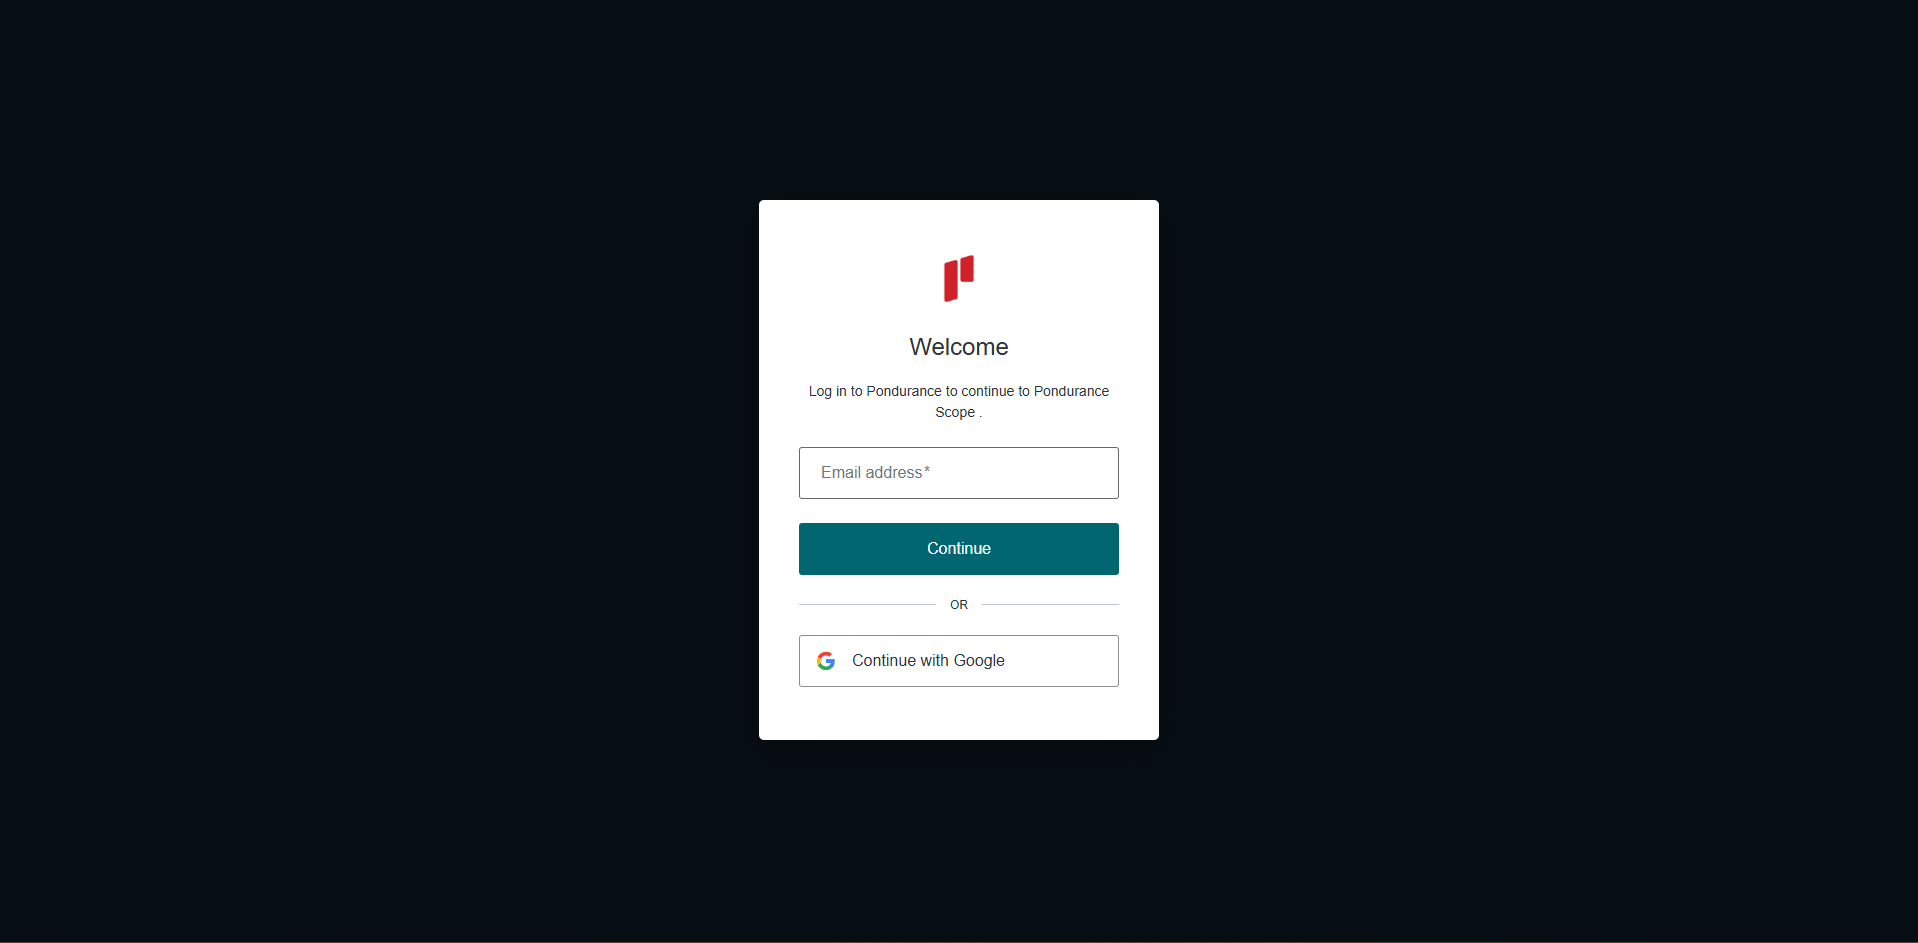
Log into the Scope application
-
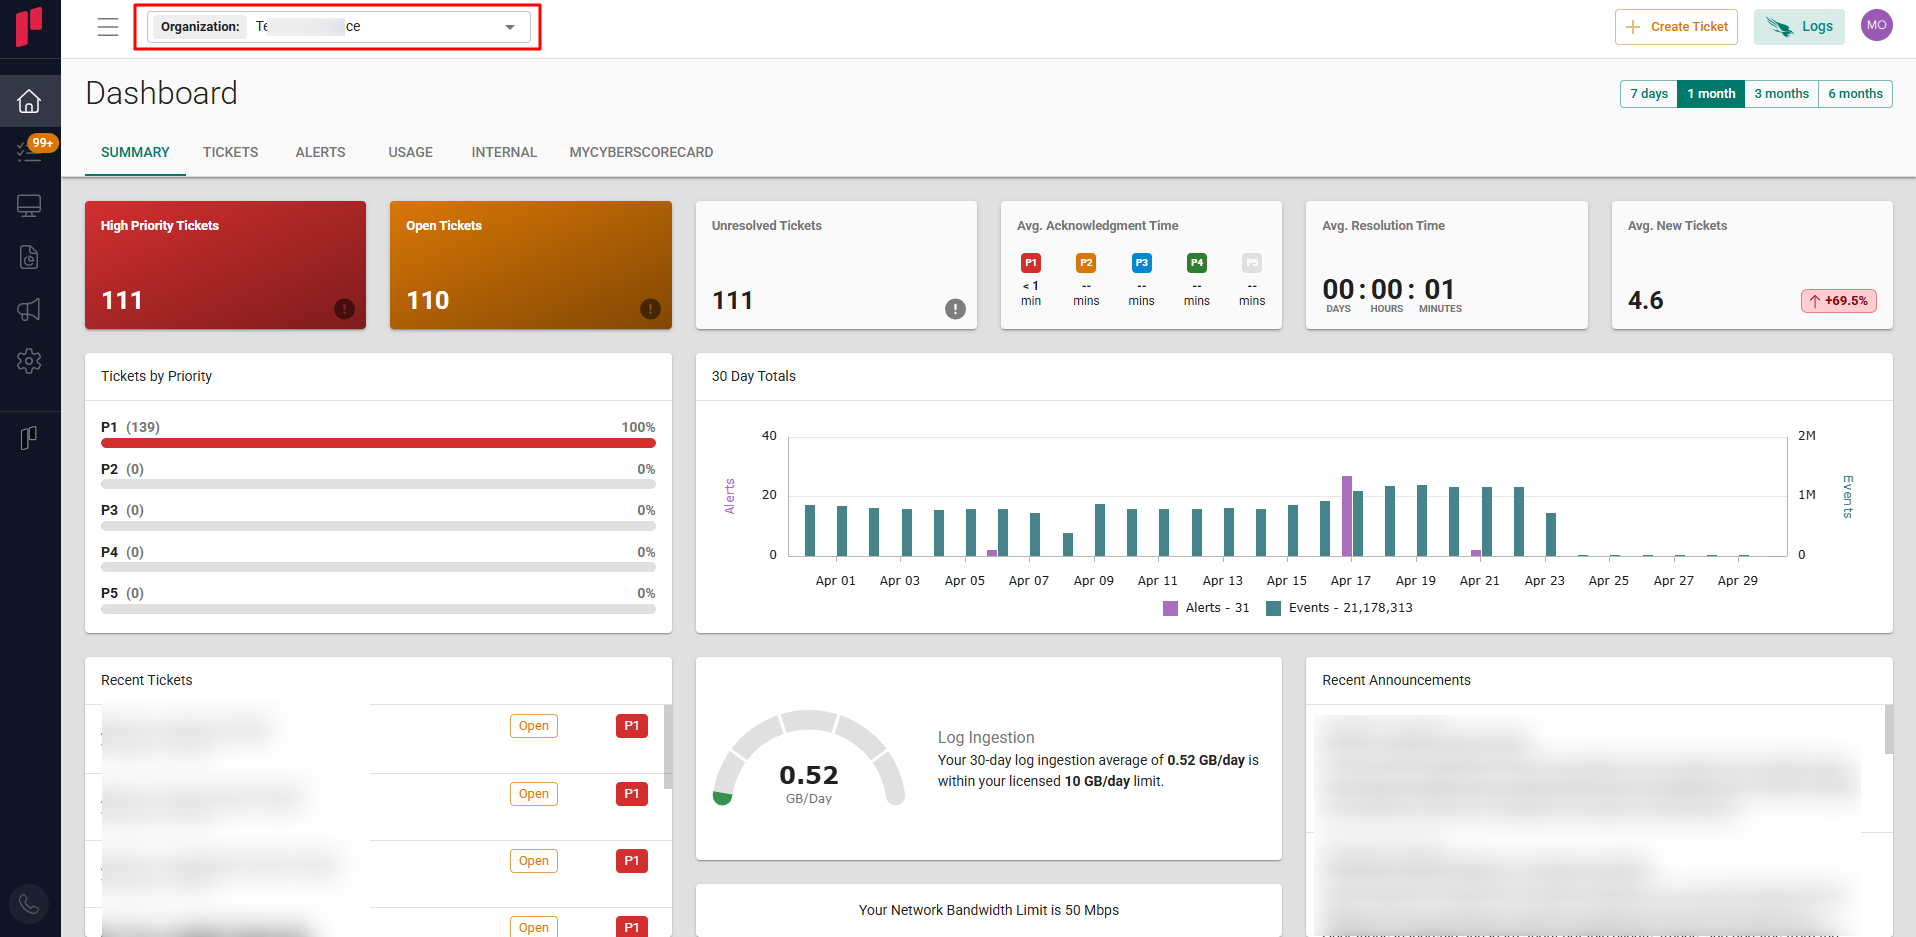
Select the required Organization from the Organization dropdown
-
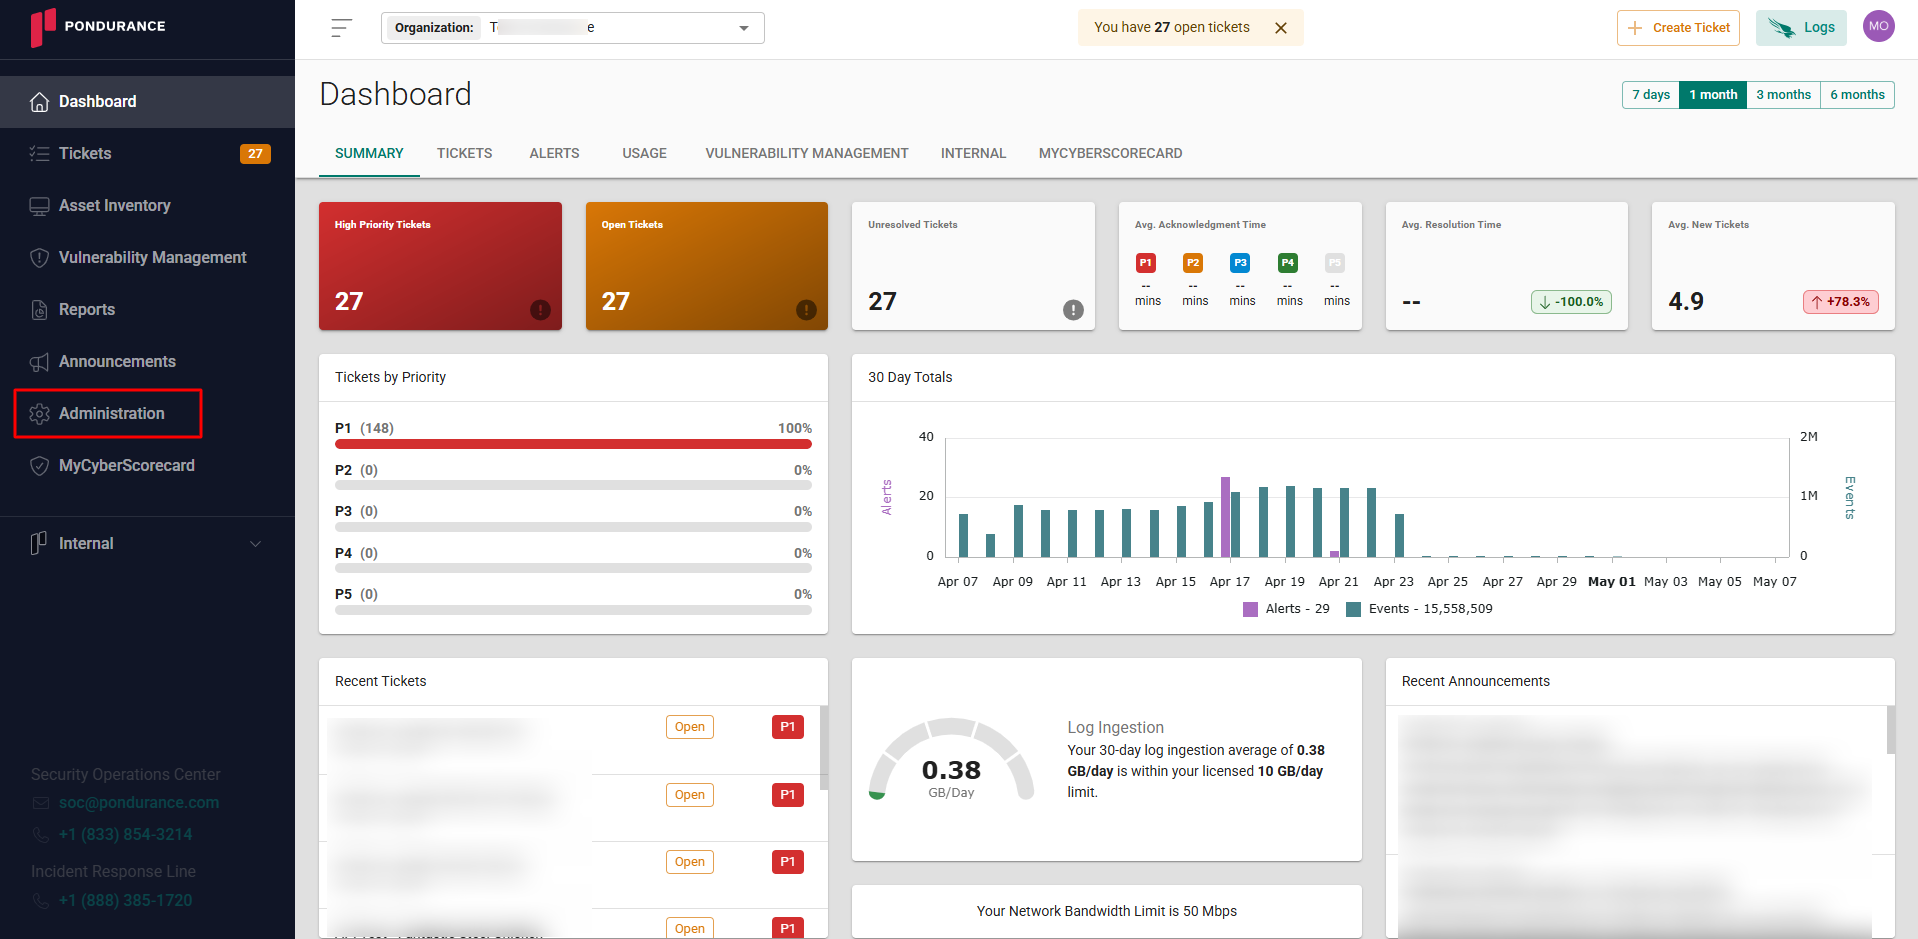
Navigate to the side menu -> Administration
-
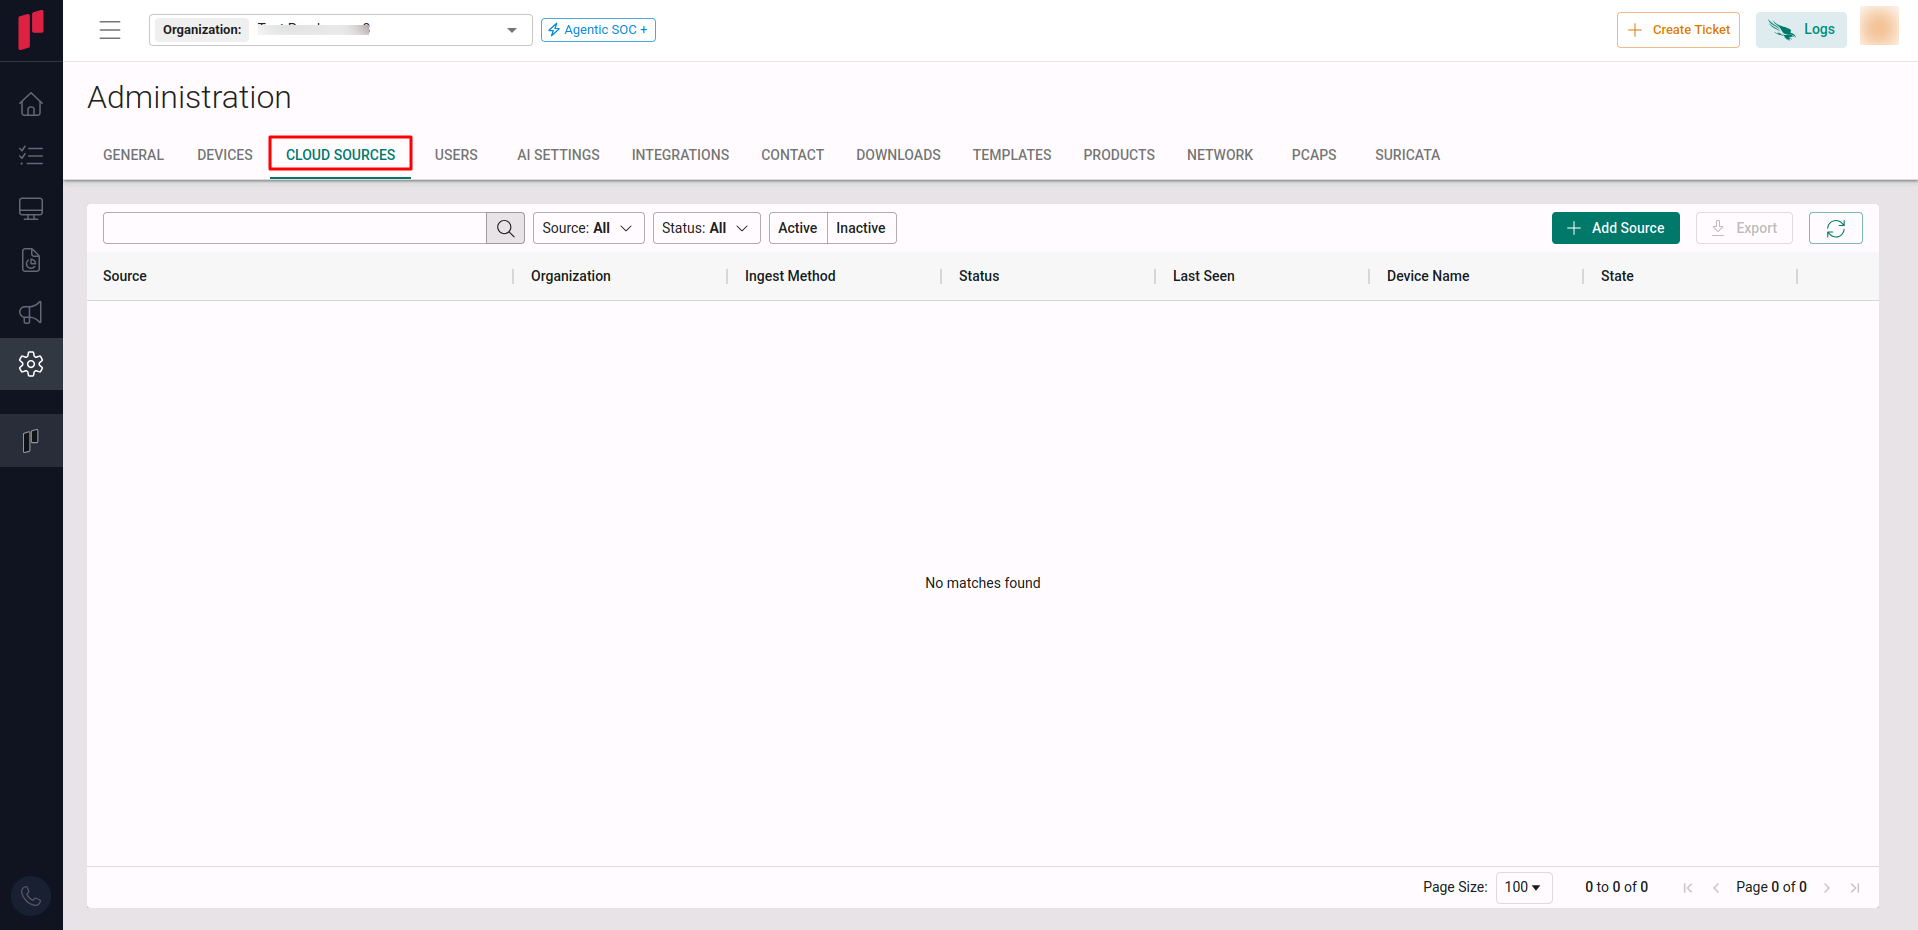
Navigate to the Cloud sources tab
-
Click on the +Add Source button
-
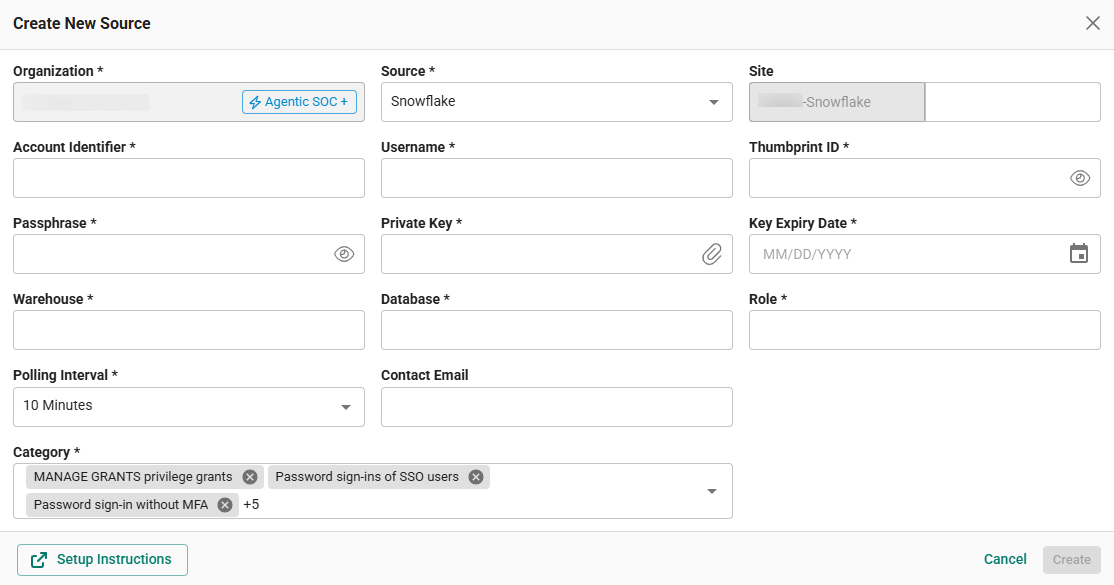
In the Add Source pop-up, provide the parameters below.
-
Source: Select the Snowflake source from the Source dropdown.
-
Site: The user defined name for the Snowflake cloud source.
-
Account Identifier: The account identifier obtained in Step 1.
-
Passphrase: The passphrase used to generate the private key in Step 2.
-
Private Key: The private key generated in Step 2.
-
Key Expiry Date: The expiry date of the key defined in Step 2.
-
Thumbprint ID: The thumbprint ID (public key fingerprint) obtained in Step 3.
-
Username: The Snowflake username to which the public key is assigned (from Step 3).
-
Warehouse: The warehouse name identified in Step 4.
-
Database: The database name (
SNOWFLAKE) identified in Step 4. -
Role: The role assigned to the user, identified in Step 4.
-
Polling Interval: The polling interval for making periodic API calls to the Snowflake cloud source. The user can select the time interval from the dropdown.
-
Contact Email: The email address of the person who registers the Snowflake cloud source in Scope.
-
Once the required connection parameters are entered, the Snowflake cloud source registration is complete in Scope and is ready for ingestion of Snowflake logs.