Qualys
Overview
Configuring a cloud source in Scope is a two-step process.
-
Creating a Qualys user account and identifying the Base URL in the Qualys portal. Please refer to Section 1 – Qualys Setup
-
Setting up the Qualys cloud source in the Scope application. Please refer to Section 2 – Scope Setup
Note: The below configuration steps cover registration using Session-based authentication, which is the most widely used method and do not cover registration using OpenID Connect API Authentication (JWT Token-based).
Qualys Setup
To get started, you’ll need to generate the following credentials in the Qualys portal –
- Username
- Password
- Base URL
Step 1: Create a Qualys User
-
Log in to the Qualys portal.
-
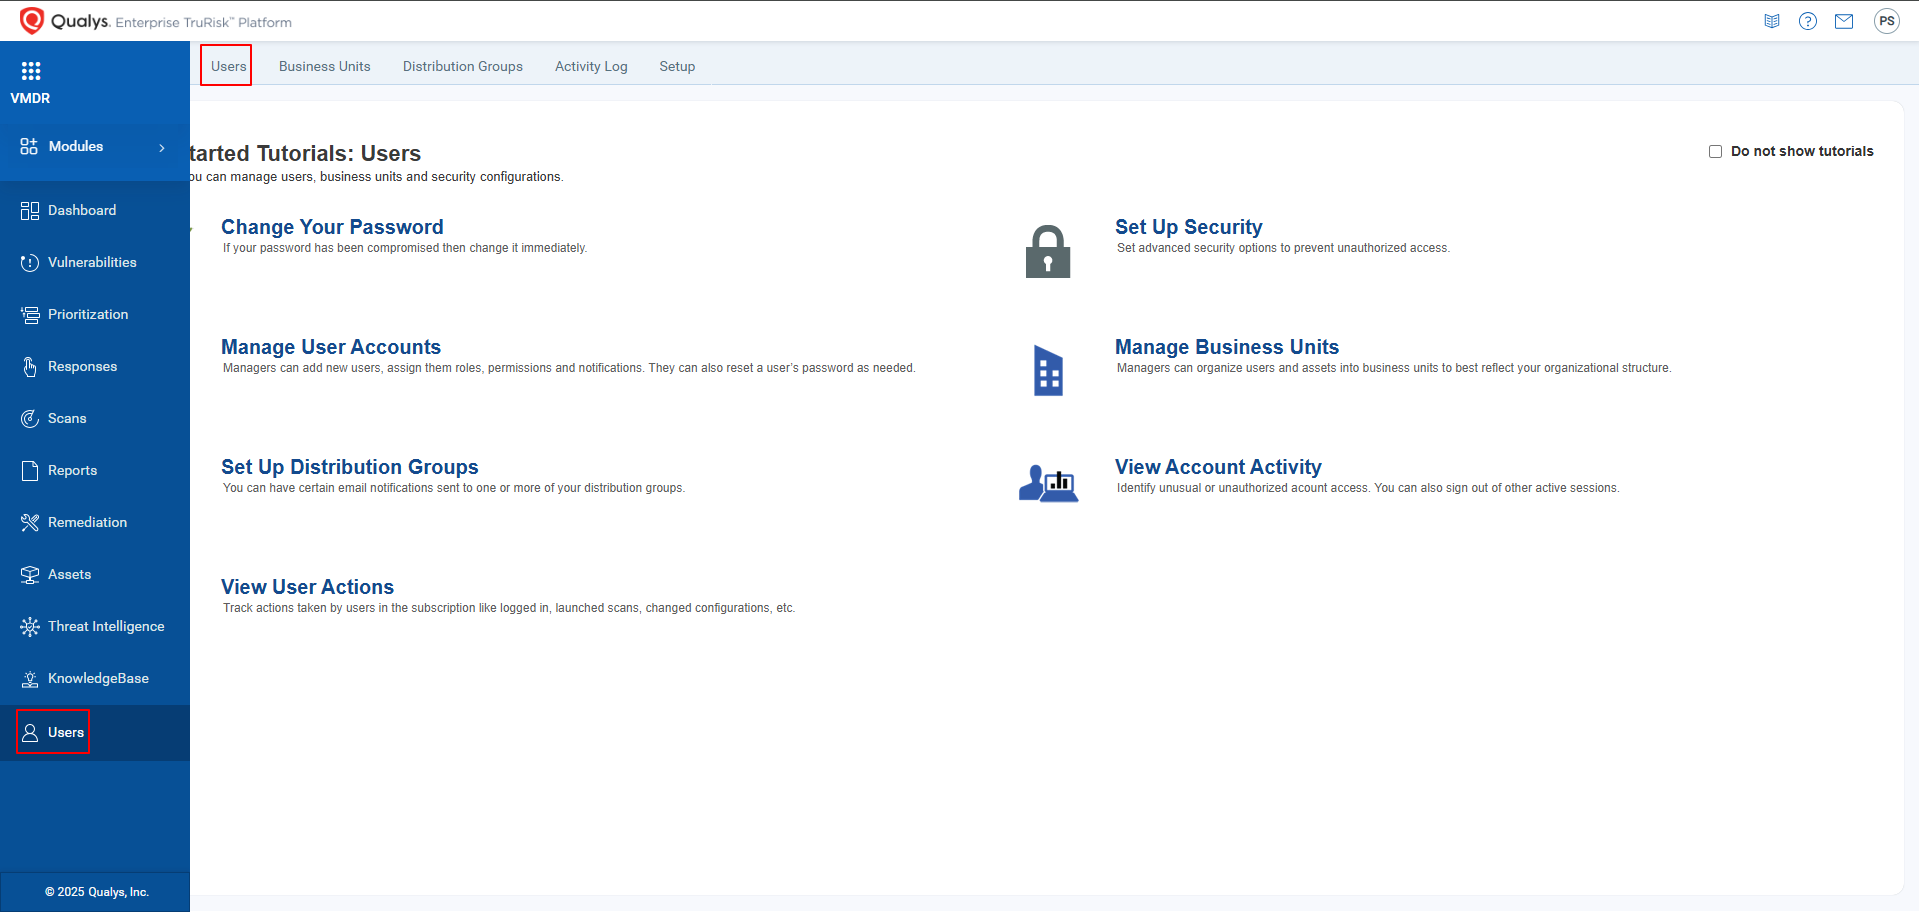
Navigate to Side menu -> Users and select the Users tab.
-
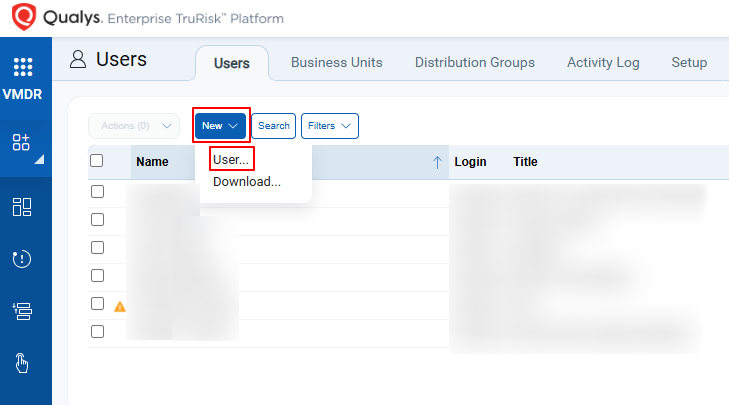
Select New -> Users.
-
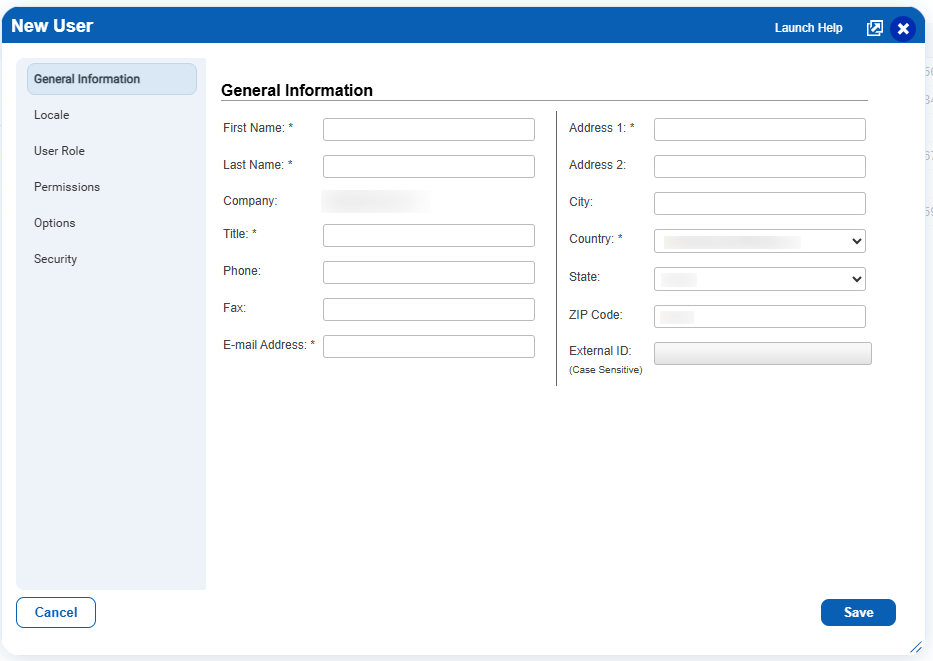
Provide the necessary information for user creation:
-
General Information: Enter the user’s details.
-
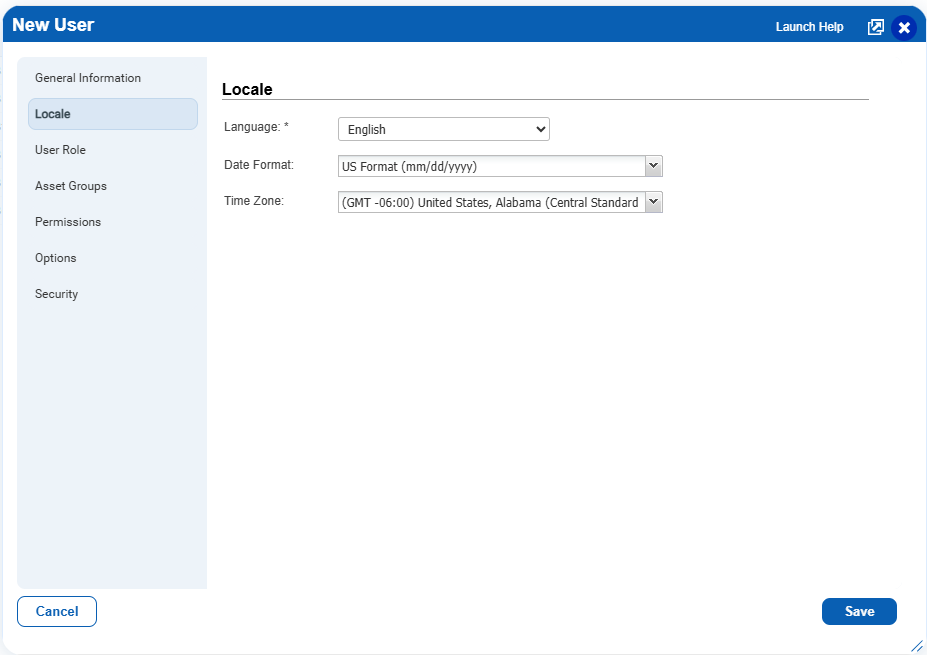
Locale:
-
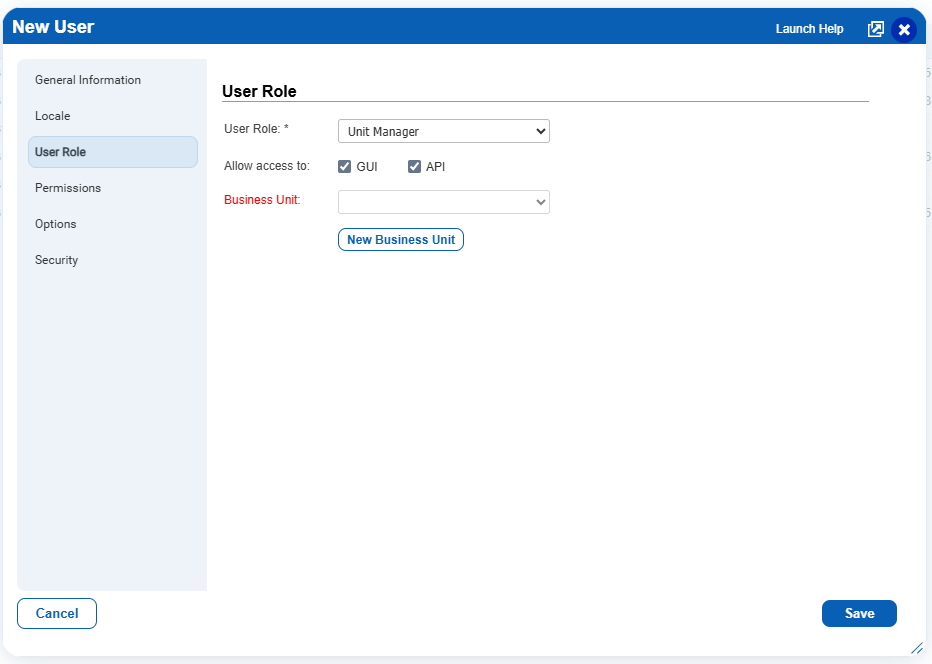
User Role: Select Manager (for all business units) or Unit Manager (for specific business units) from the User Role dropdown menu.
-
Allow access to: Select the API option.
-
If Unit Manager role is selected, select the required Business Unit.
-
-
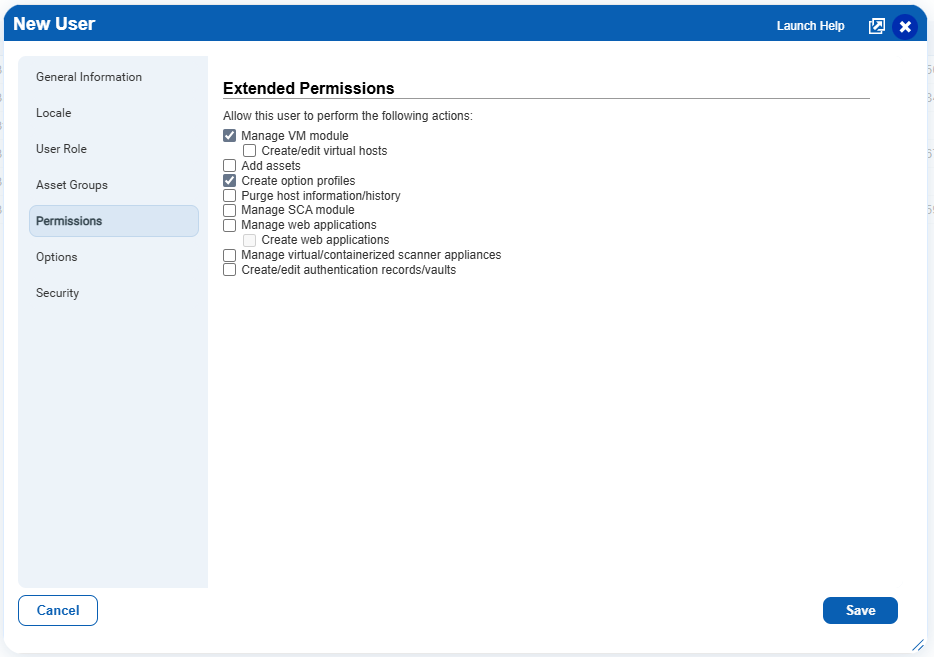
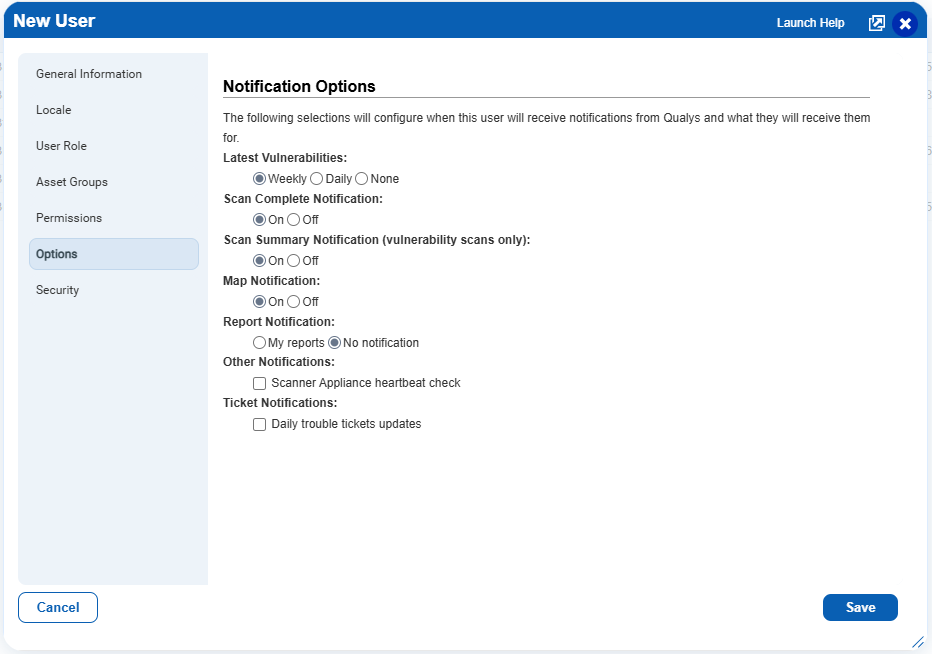
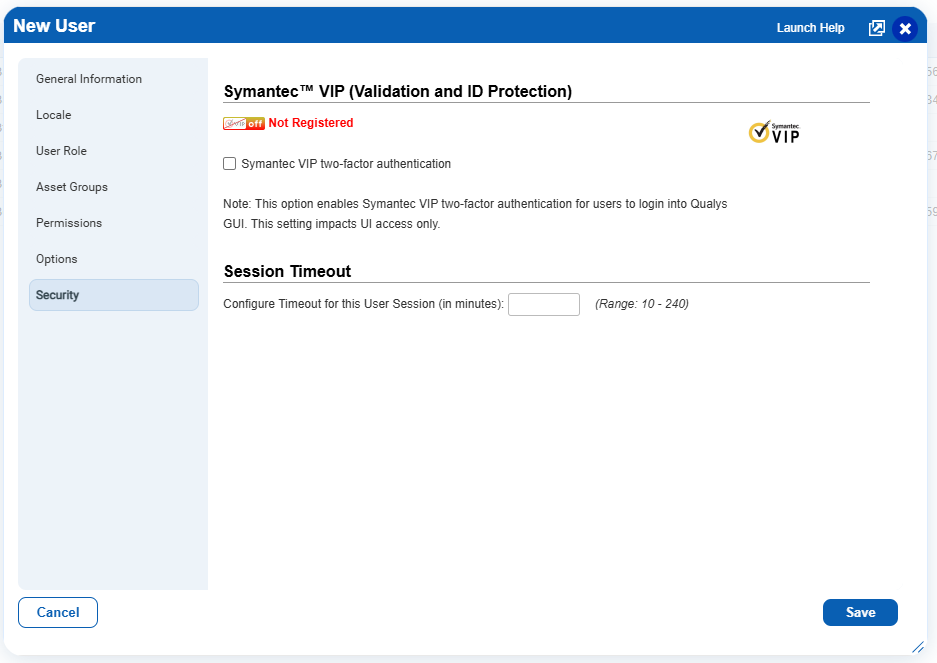
Configure the Permissions, Options, and Security settings as required, then save the user.
Permissions -
Options -
Security -
-
Once the user is created, they will automatically receive a registration email with a secure one-time link to set up their account credentials. The user’s status changes to Active after logging in for the first time.
Step 2: Identify the Base URL
-
The Base URL is determined by the platform identifier in the Qualys username.
-
The username format is:
<company_name_acronym><platform_identifier><user_initials><user_number> -
Based on the platform identifier, determine the Base URL from the table below.
Platform Identifier Platform Platform URL _(underscore)US1 https://qualysapi.qualys.com2US2 https://qualysapi.qg2.apps.qualys.com3US3 https://qualysapi.qg3.apps.qualys.com6US4 https://qualysapi.qg4.apps.qualys.com-(hyphen)EU1 https://qualysapi.qualys.eu5or!EU2 https://qualysapi.qg2.apps.qualys.euBEU3 https://qualysapi.qg3.apps.qualys.it8IN1 https://qualysapi.qg1.apps.qualys.in9CA1 https://qualysapi.qg1.apps.qualys.ca7AE1 https://qualysapi.qg1.apps.qualys.ae1UK1 https://qualysapi.qg1.apps.qualys.co.uk4AU1 https://qualysapi.qg1.apps.qualys.com.auAKSA1 https://qualysapi.qg1.apps.qualysksa.comFor example, if the username is
hustn3ps, the platform identifier is3, and the corresponding Base URL ishttps://qualysguard.qg3.apps.qualys.com.
The generated Username, Password, and the identified Base URL are to be configured in Scope Setup: Step 1 for initiating the Qualys log ingestion.
Scope Setup
Step 1: Qualys Cloud Source Registration in the Scope Application
Once the credentials are generated, they must be configured in the Scope application to establish the connection and enable data ingestion from the Qualys environment.
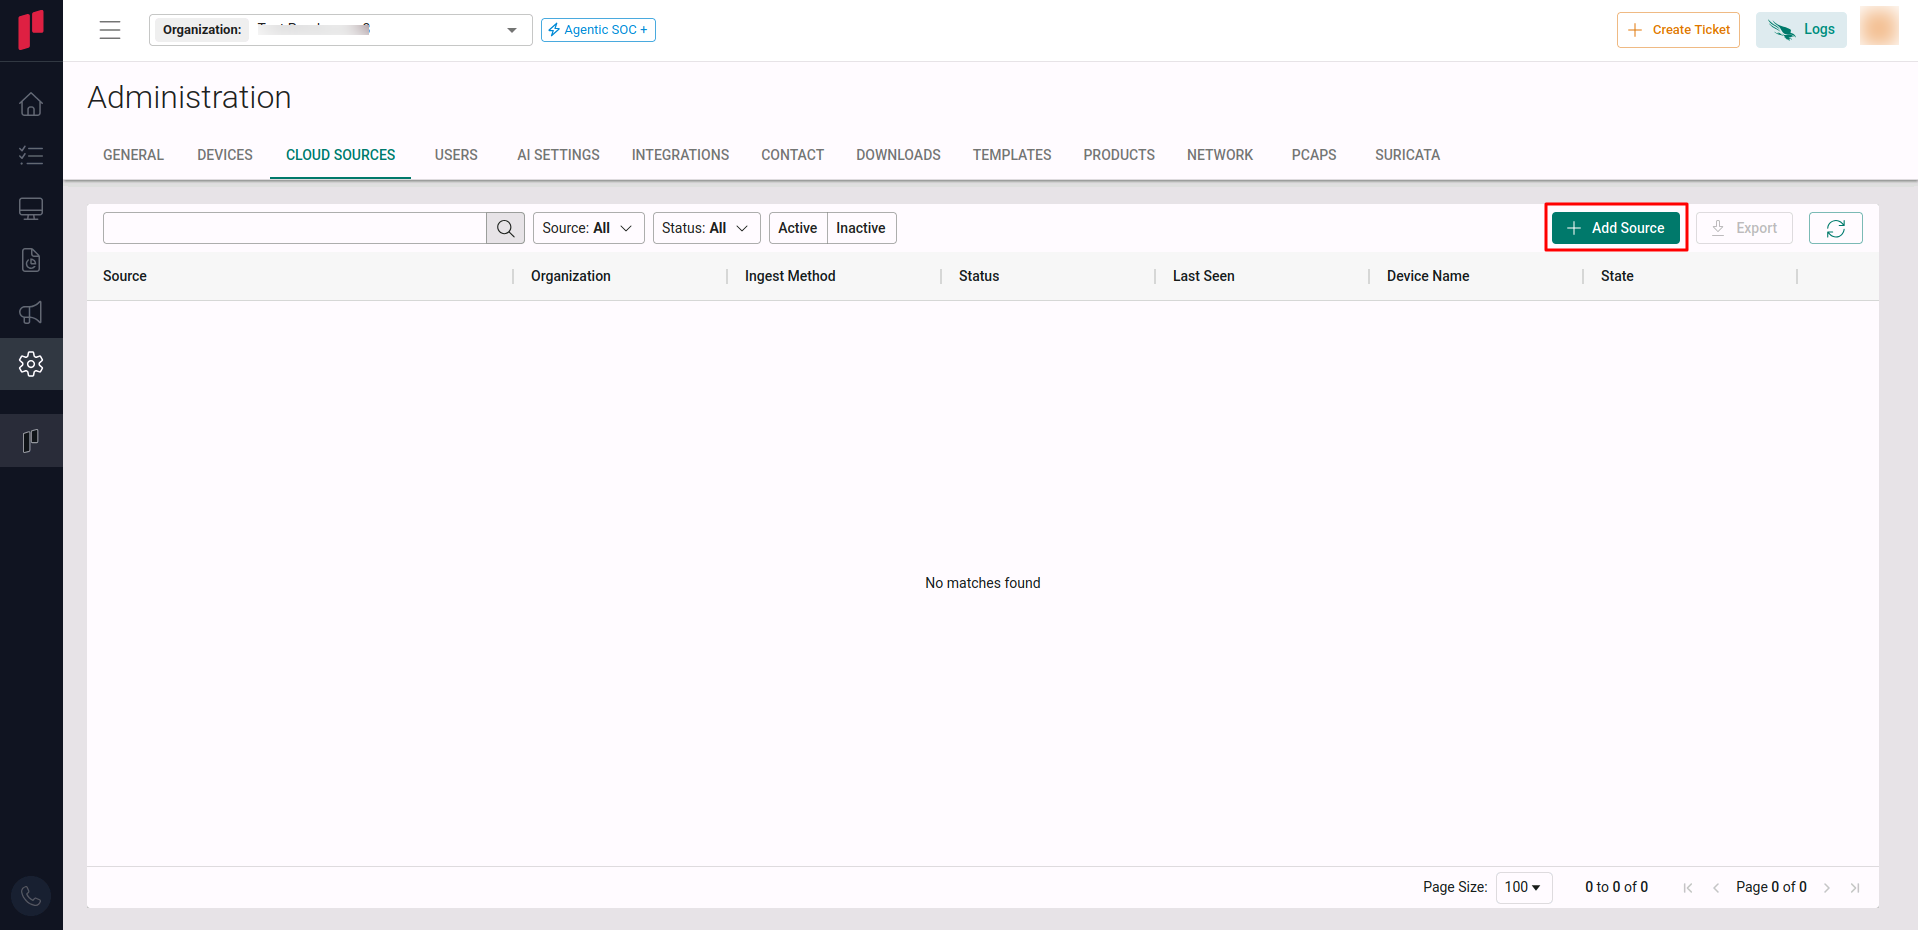
In the Scope application, to register a Qualys cloud source, navigate to the cloud source registration page –
-
Log into the Scope application
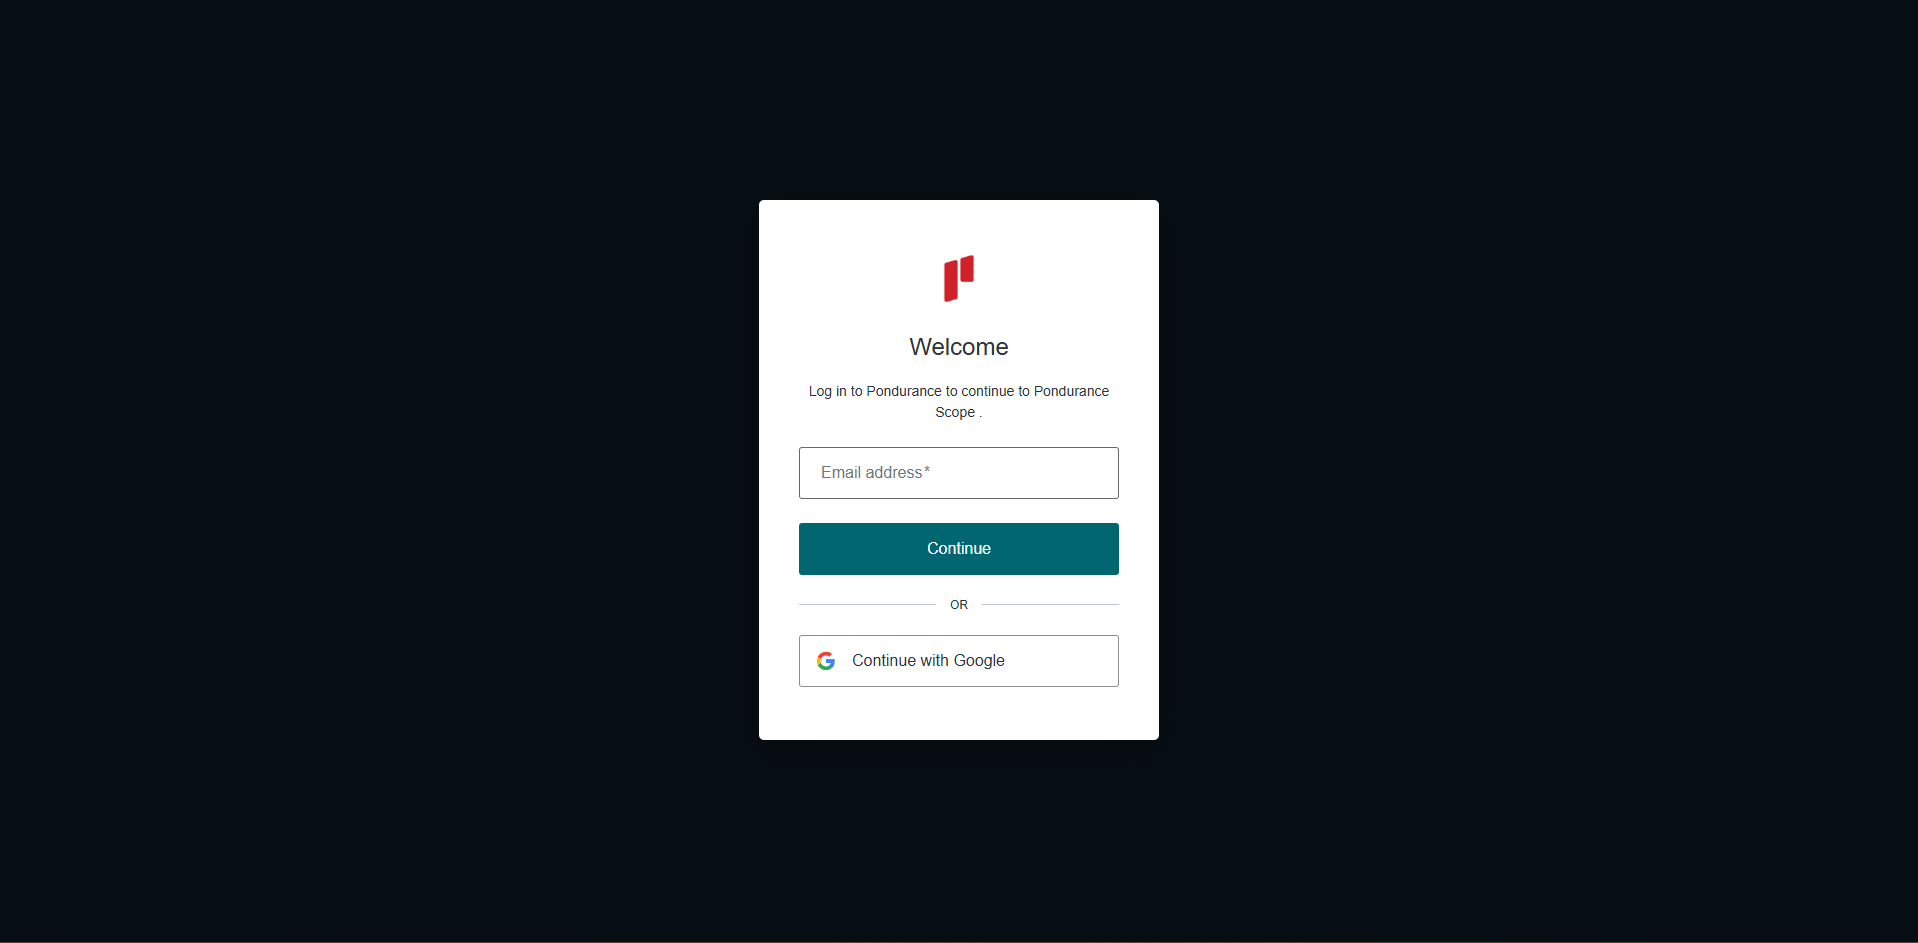
-
Select the required Organization from the Organization dropdown
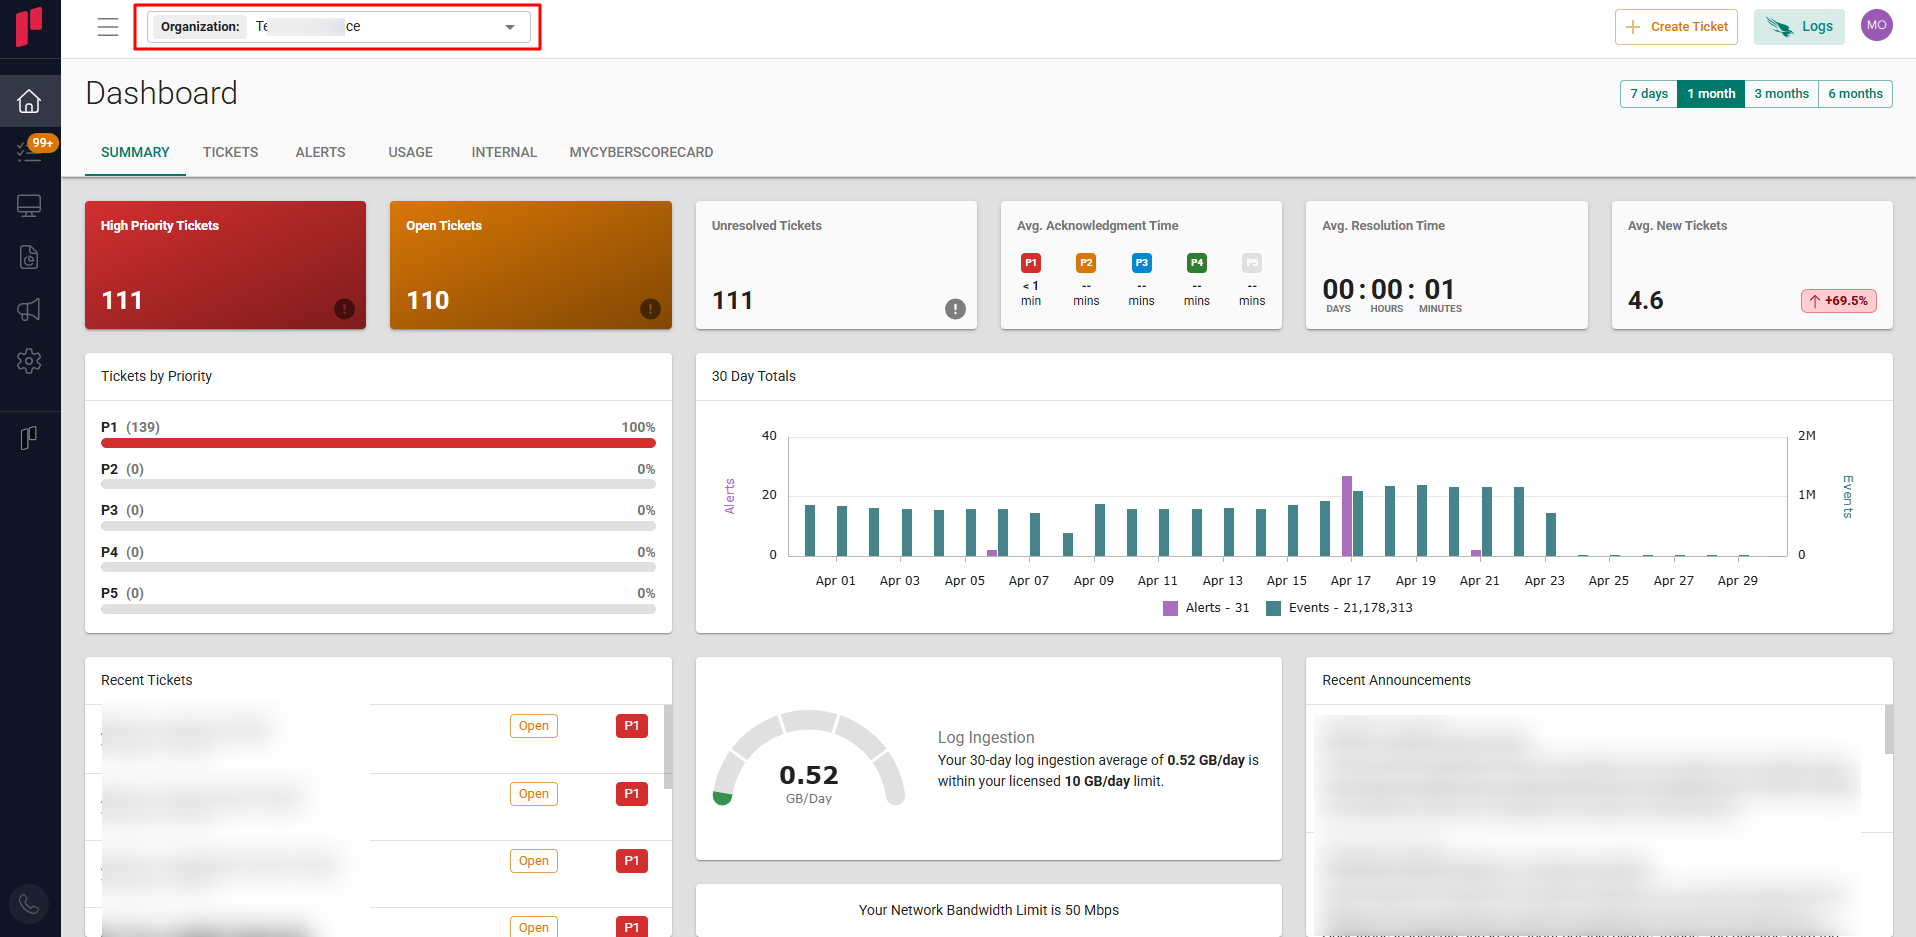
-
Navigate to the side menu -> Administration
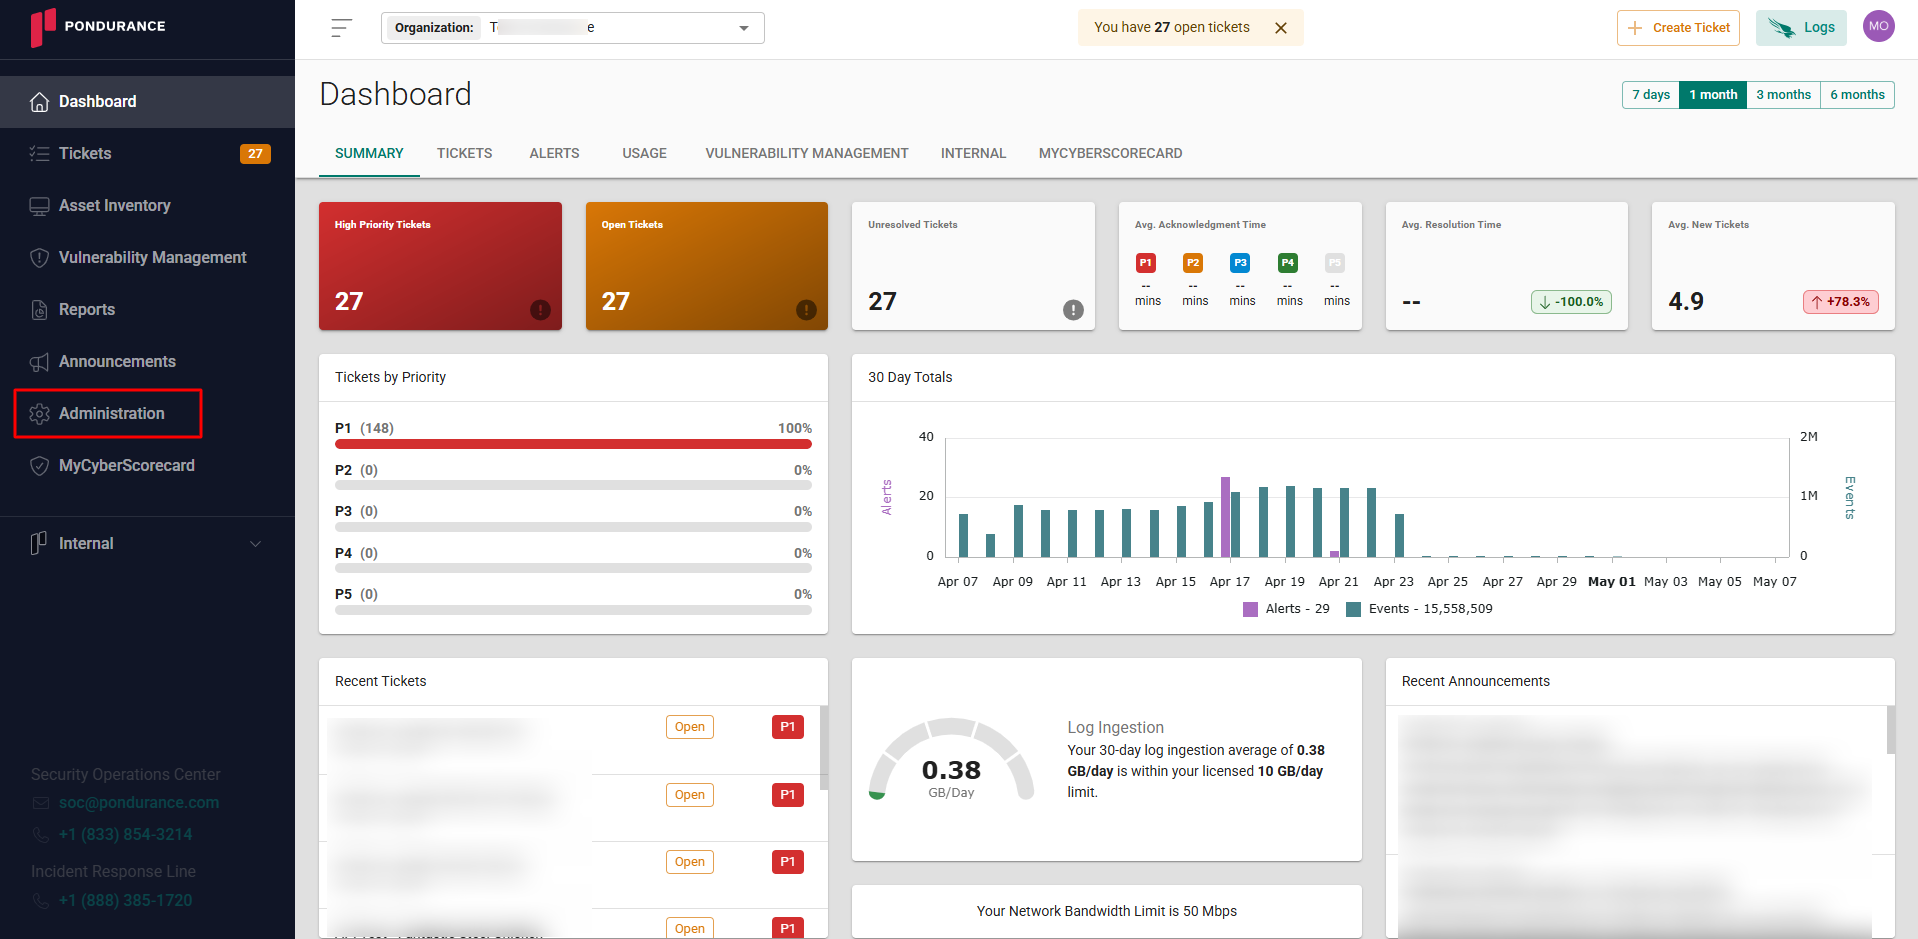
-
Navigate to the Cloud sources tab
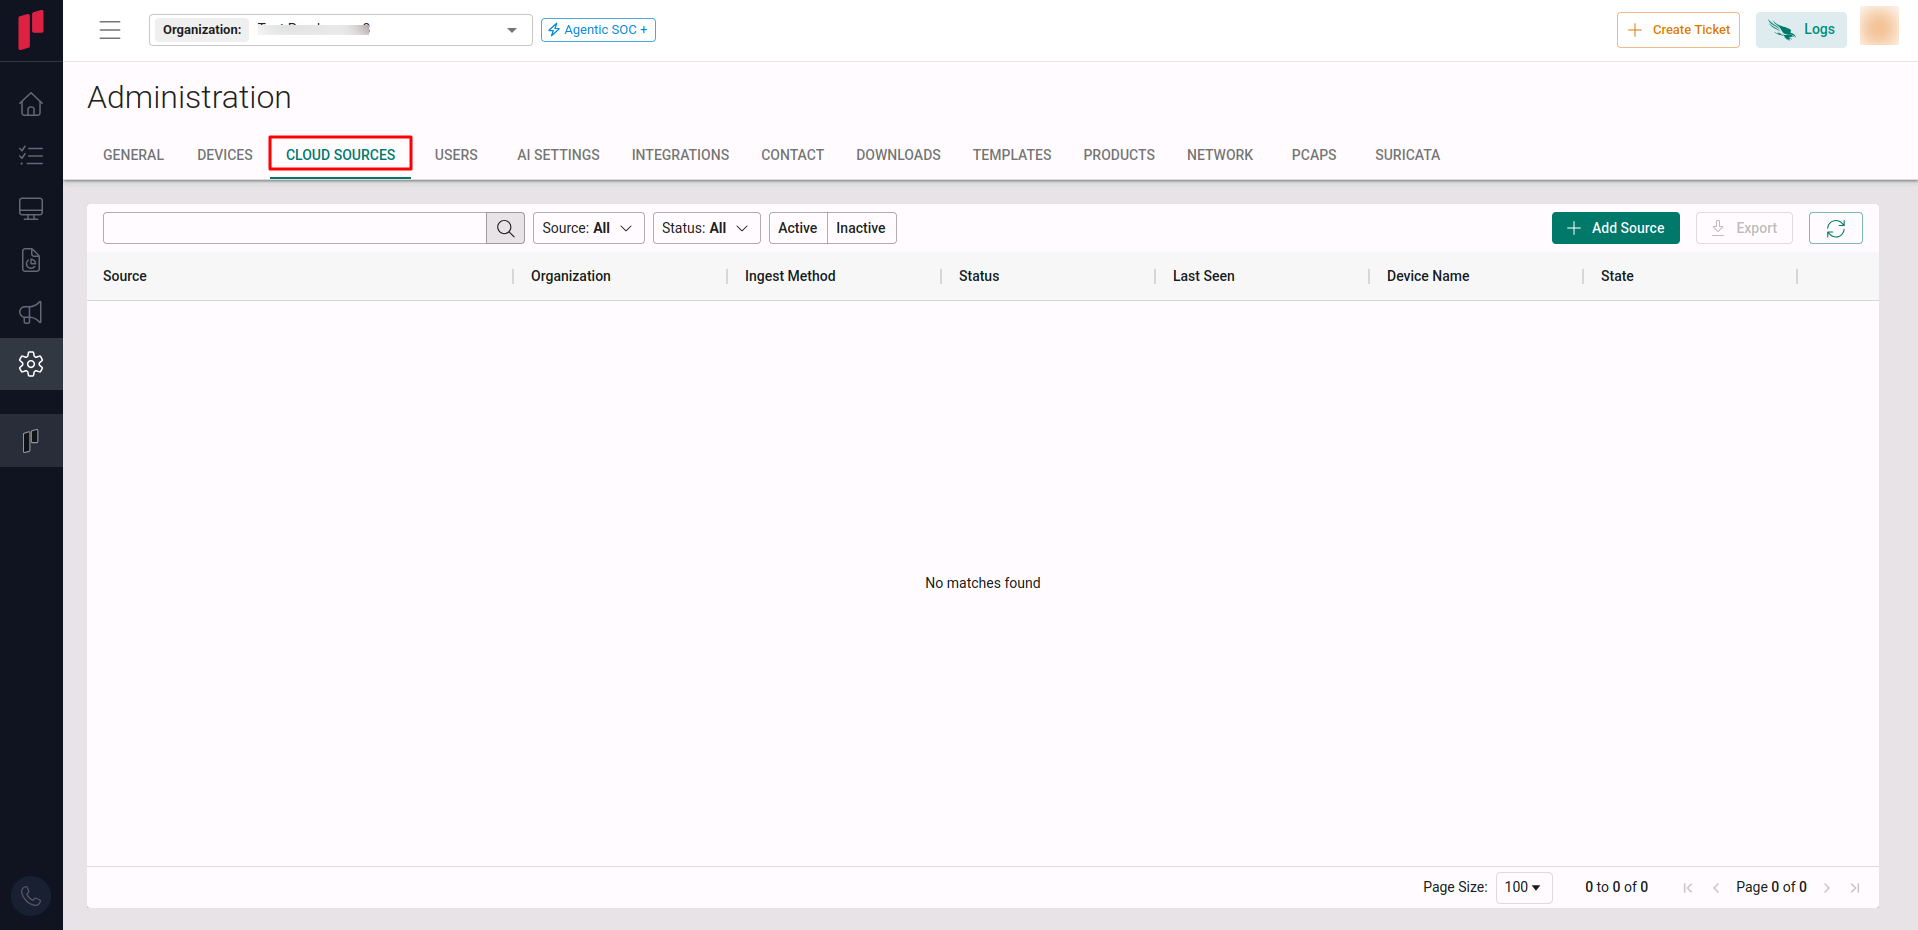
-
Click on the +Add Source button
-
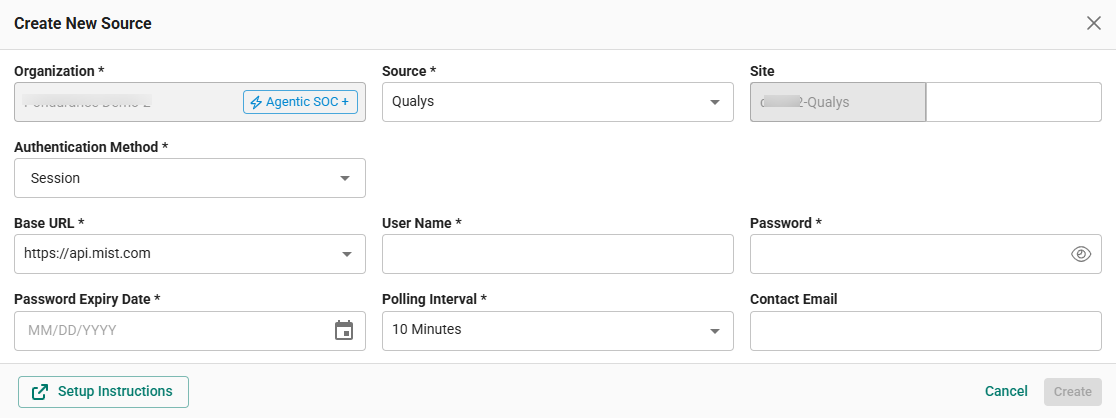
In the Add Source pop-up, provide the parameters below.
-
Source: Select the Qualys source from the Source dropdown.
-
Site: The user defined name for the Qualys cloud source.
-
Authentication Method: Currently, only Session based authentication is supported.
-
Base URL: Select the appropriate Base URL from the dropdown, as identified in Step 2.
-
Username: The username of the Qualys user created in Step 1.
-
Password: The password of the Qualys user created in Step 1.
-
Password Expiry Date: Expiry date of the password.
-
Contact Email: The email address of the person who registers the Qualys cloud source in Scope.
-
Once the required connection parameters are entered, the Qualys cloud source registration is complete in Scope and is ready for ingestion of Qualys logs.